

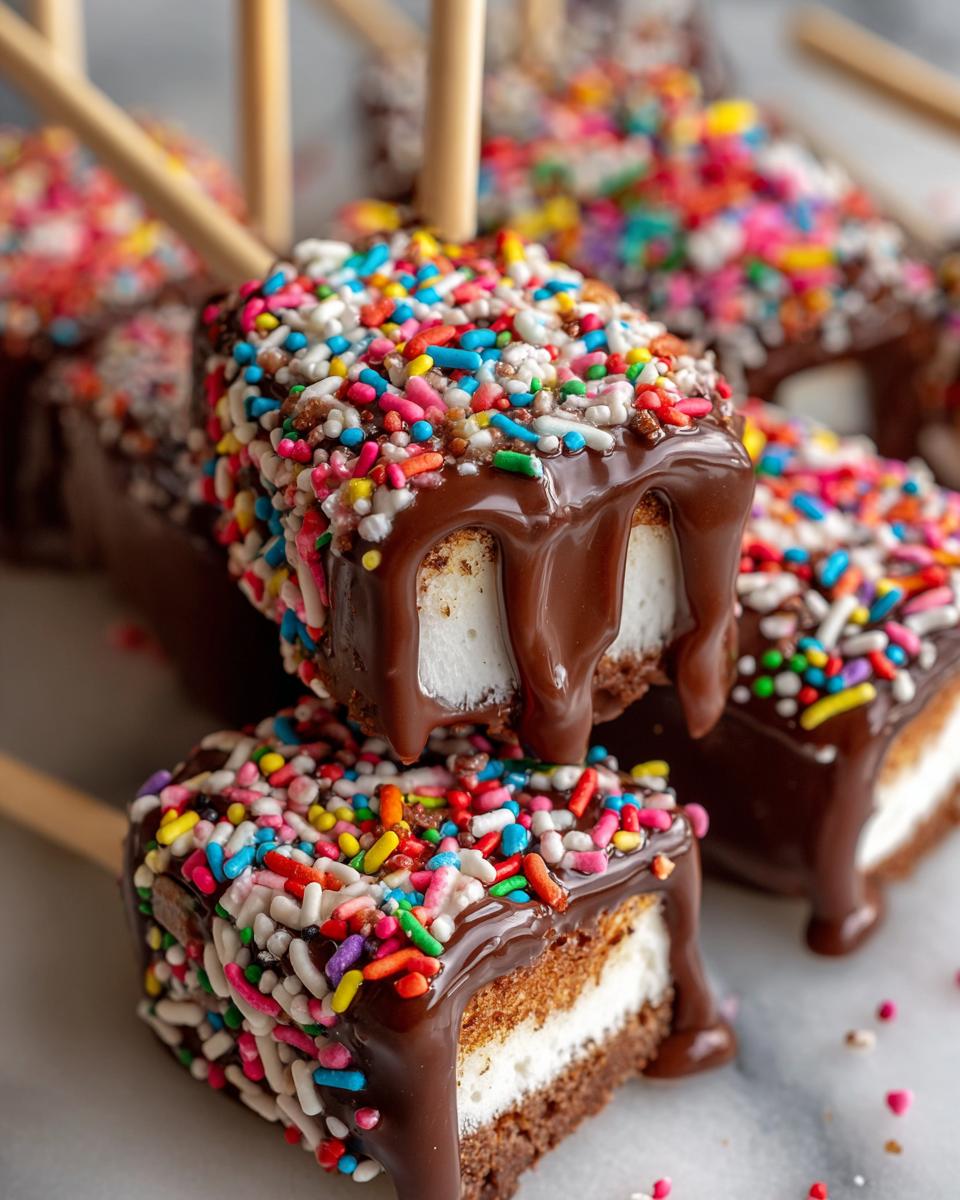
Valentine’s Day is just around the corner, and I’m already dreaming of sweet treats! And you know what’s super fun and easy to make? These adorable Marshmallow Chocolate-Dipped Valentine Pops! They’re so simple, even the kiddos can help, and they’re the perfect little gifts for your loved ones. Trust me, these are going to be a hit!
No heading needs to be written for the introduction.
Ingredients for Making Delicious Marshmallow Chocolate-Dipped Valentine Pops
Okay, so you’re ready to make these cuties? Awesome! You don’t need a ton of stuff, which is always a bonus. Here’s what you’ll need to gather to get started. Don’t worry, it’s all pretty simple, I promise!
Marshmallow Selection
First up, the star of the show: the marshmallows! I like to use the big, fluffy ones. You know, the kind you roast over a campfire? They’re perfect because they give you a nice, thick base for the chocolate. I usually get the standard size, but you could totally go mini if you want a bunch of smaller pops. Yum!
Chocolate: The Heart of Your Marshmallow Chocolate-Dipped Valentine Pops
Next, you’ll need some chocolate! I always reach for chocolate melting wafers. They melt super smoothly and are so easy to work with. You can find them at any craft store or even the grocery store. Look for a good quality brand – it really makes a difference in the flavor. I usually get the milk chocolate, but dark chocolate or white chocolate would be fantastic, too! Careful, it splatters!
Sprinkles and Decorations
Now for the fun part: sprinkles! This is where you can really get creative. For Valentine’s, I love heart-shaped sprinkles, of course. But honestly, any festive sprinkles will do! You can also add little edible glitter, or even drizzle some white chocolate on top for extra flair. The more, the merrier, I say! Go wild!
Lollipop Sticks
Last but not least, you’ll need lollipop sticks! You can find these at any craft store or baking supply store. I usually get the 6-inch ones, but you can adjust the size depending on the size of your marshmallows and how long you want your pops to be. Make sure they’re sturdy so your pops don’t flop over!
Step-by-Step Instructions: How to Create Marshmallow Chocolate-Dipped Valentine Pops
Alright, let’s get down to the fun part: making these adorable pops! Don’t worry, it’s super easy, and I’ll walk you through every step. You got this!
Preparing the Marshmallows
First things first, grab your marshmallows and your lollipop sticks. Gently push a stick into the bottom of each marshmallow, going about halfway in. You don’t want the stick to go all the way through, just far enough to hold the marshmallow securely. Easy peasy!
Melting the Chocolate
Next, it’s time to melt that delicious chocolate! You can do this a couple of ways. My favorite is using a double boiler – just put a pot of simmering water on the stove and place a heat-safe bowl on top. Put your chocolate wafers in the bowl and stir constantly until they’re smooth and melted. You can also use the microwave, but be super careful! Melt the chocolate in 30-second intervals, stirring in between, until it’s perfectly melted and smooth. Careful, it splatters!
Dipping and Decorating Your Marshmallow Chocolate-Dipped Valentine Pops
Now for the fun part! Dip each marshmallow into the melted chocolate, making sure to coat it completely. Gently tap off any excess chocolate, then immediately sprinkle with your chosen decorations. I like to hold the pop over a plate to catch the sprinkles. Trust me, it’s less messy that way! Before the chocolate sets, add your sprinkles!
Setting and Cooling
Once you’ve decorated all your pops, it’s time to let them set. You can either place them on a parchment-lined baking sheet or stick the lollipop sticks into a block of styrofoam. Pop them in the fridge for about 10-15 minutes, or until the chocolate is completely hardened. And there you have it – your yummy Marshmallow Chocolate-Dipped Valentine Pops are ready to enjoy!
Why You’ll Love These Marshmallow Chocolate-Dipped Valentine Pops
Seriously, what’s not to love? These little treats are pure joy! Here’s why you’ll be obsessed, just like me:
- They’re ridiculously easy to make.
- They’re super cute and festive – perfect for Valentine’s Day!
- They’re customizable – you can add whatever sprinkles or chocolate you want!
- They’re a guaranteed crowd-pleaser.
- They’re just plain FUN!
Tips for Perfect Marshmallow Chocolate-Dipped Valentine Pops Every Time
Want to make sure your pops are perfect? Here are a few things I’ve learned along the way. Trust me, these little tricks make a big difference!
Chocolate Melting Success
Okay, so chocolate can be a bit of a diva. To make sure it melts smoothly, stir it *constantly* when you’re using the double boiler method. If you’re using the microwave, go slow and steady, and stir after every interval. You don’t want it to burn, yikes!
Sprinkling Strategies
To get those sprinkles to stick, work quickly! Sprinkle the decorations on *immediately* after dipping the marshmallow in chocolate, before it starts to set. I also like to hold the pop over a plate while I sprinkle, just in case any sprinkles go rogue. Oops!
Variations: Get Creative with Your Marshmallow Chocolate-Dipped Valentine Pops
Okay, so now that you’ve mastered the basics, let’s get creative! The fun part about these Marshmallow Chocolate-Dipped Valentine Pops is that you can totally customize them to your heart’s content. Try using different kinds of chocolate! White chocolate is always a classic, or you could even use pink chocolate for a Valentine’s Day vibe. You could also add different toppings. Crushed nuts, chopped candies, or even a drizzle of caramel would be amazing! Don’t be afraid to experiment – that’s what makes baking so fun!
Frequently Asked Questions About Marshmallow Chocolate-Dipped Valentine Pops
Got questions? I got answers! Here are some of the things people often wonder about when they’re making these fun pops. Don’t worry, it’s all easy-peasy!
Can I use different types of chocolate?
Absolutely! You can totally swap out the chocolate melting wafers for other types of chocolate. Milk chocolate, dark chocolate, white chocolate… they all work great! Just make sure whatever chocolate you choose melts well. Chocolate chips or blocks work fine!
How can I prevent the sprinkles from falling off?
The key to keeping those sprinkles on is speed! Make sure you add the sprinkles *immediately* after dipping the marshmallow in the chocolate. While the chocolate is still wet, the sprinkles will stick perfectly. Also, don’t be shy with the sprinkles! The more the merrier, I say!
How should I store the Marshmallow Chocolate-Dipped Valentine Pops?
Once your pops are set, store them in an airtight container at room temperature. They should last for about a week, but honestly, they probably won’t last that long, haha! Just make sure they’re not in direct sunlight or a super hot place. Yum!
Can I make these pops ahead of time?
Definitely! These pops are perfect for making ahead. You can make them a day or two in advance and store them in an airtight container. Just be sure to let them set completely before you store them. That way, you’re all ready to wow your friends and family!
What if I don’t have lollipop sticks?
No problem! If you don’t have lollipop sticks, you can totally use pretzel sticks instead! They’re a yummy, salty-sweet alternative that works perfectly. Just make sure you insert the pretzel sticks into the marshmallows the same way you would the lollipop sticks. Easy!
Serving Suggestions for Your Marshmallow Chocolate-Dipped Valentine Pops
So, you’ve made these adorable pops… now what? Well, the fun’s not over yet! These cuties are perfect for gifting, of course. Wrap them individually in cellophane bags and tie them with a cute ribbon, and you’ve got a perfect Valentine’s treat. You can also arrange them in a cute mug or vase for a fun display. Or, just eat them all yourself, no judgement here!

Estimated Nutritional Information
Okay, so I’m no nutritionist, but I can give you a rough idea of what you’re looking at, nutritionally speaking. Keep in mind that this is just an estimate, and it can vary depending on the ingredients you use and the size of your pops. But hey, it’s a sweet treat, so don’t sweat the small stuff, right?
I’d estimate that each pop has around 150 calories, 8 grams of fat, and 20 grams of sugar. You also get a little bit of protein (about 1 gram) and some carbs (around 20 grams). Sodium is pretty low, thankfully. But again, these numbers are just a ballpark. Enjoy these yummy Marshmallow Chocolate-Dipped Valentine Pops in moderation, and most importantly, enjoy them!
For more fun ideas, check out Dishlyum’s Pinterest!
Print
Make Yummy Marshmallow Chocolate Valentine Pops in 4 Steps!
- Total Time: 25 minutes
- Yield: 12 pops
- Diet: Vegetarian
Description
Create delicious Marshmallow Chocolate-Dipped Valentine Pops for your loved ones.
Ingredients
- Large marshmallows
- Chocolate melting wafers
- Sprinkles
- Lollipop sticks
Instructions
- Insert a lollipop stick into each marshmallow.
- Melt chocolate wafers according to package directions.
- Dip each marshmallow into the melted chocolate.
- Immediately add sprinkles.
- Let the pops cool and set.
Notes
- Use different colors of sprinkles for variety.
- You can add a drizzle of white chocolate.
- Prep Time: 15 minutes
- Cook Time: 10 minutes
- Category: Dessert
- Method: Baking
- Cuisine: American
Nutrition
- Serving Size: 1 pop
- Calories: 150
- Sugar: 20g
- Sodium: 10mg
- Fat: 8g
- Saturated Fat: 5g
- Unsaturated Fat: 3g
- Trans Fat: 0g
- Carbohydrates: 20g
- Fiber: 0g
- Protein: 1g
- Cholesterol: 0mg


