
Is there anything better than a big bowl of comfort? I don’t think so! And when it comes to comfort food, my heart (and stomach!) always goes straight to classic, *old fashioned desserts*. That’s why I’m so excited to share my go-to *Homemade Tapioca Pudding Recipe* with you. It’s creamy, it’s dreamy, and it’s the perfect treat for any time of year. Trust me, you’re going to love it!
Ingredients for a Delicious *Homemade Tapioca Pudding Recipe*
Alright, let’s talk ingredients! For this *Homemade Tapioca Pudding Recipe*, you’ll need just a handful of things, and I bet you already have most of them in your pantry. We’re keeping it simple, folks! Here’s what you’ll need to get started.
- 1/4 cup of *small pearl tapioca* – you’ll find this in the baking aisle.
- 2 1/2 cups of milk – I usually use whole milk for extra creaminess, but you can definitely use 2% or even a plant-based milk.
- 1/3 cup of *granulated sugar* – just your basic white sugar.
- 1/4 teaspoon of salt – don’t skip this; it balances everything out!
- 1 large egg, lightly beaten – this is crucial for the perfect texture!
- 1 teaspoon of *vanilla extract* – the secret weapon for amazing flavor!
Essential Components of Your *Homemade Tapioca Pudding*
Each ingredient plays a super important role in this *old fashioned dessert*! The tapioca gives that classic jiggly texture we all love. Milk provides the creamy base, while the sugar adds sweetness. Salt enhances all the flavors, and the egg helps thicken the pudding. Finally, vanilla extract? Well, that’s just pure deliciousness in a bottle!
Ingredient Substitutions and Variations
Don’t worry if you don’t have everything on hand! You can totally swap out ingredients. Feel free to experiment with different types of milk, like almond or soy, if you’re dairy-free. For the sweetener, you can try honey or maple syrup instead of sugar, just adjust the amount to your taste. You could even add a pinch of cinnamon or nutmeg for a cozy twist!
Step-by-Step Instructions: How to Make the Perfect *Homemade Tapioca Pudding*
Okay, now for the fun part: making the pudding! Don’t be intimidated; it’s easier than you think! Just follow these simple steps, and you’ll have a bowl of creamy, dreamy *comfort sweets* in no time. Ready? Let’s go!
Preparing the Tapioca and Milk Mixture
First things first, grab your *small pearl tapioca* and give it a good rinse in a fine-mesh sieve. This helps get rid of any extra starch, so your pudding isn’t cloudy. Next, in a saucepan, combine the rinsed tapioca with the milk, sugar, and salt. Give it a little stir to get everything mixed. Now, just let it sit for about five minutes. This helps the tapioca soften up a bit before we start cooking.
Cooking the Tapioca Pudding
Now, place the saucepan over medium heat. This is where you need to pay attention, folks! Bring the mixture to a boil, stirring constantly, constantly! This is super important to prevent sticking and burning. Once it’s bubbling, reduce the heat to a simmer and let it cook for about 15-20 minutes. Keep stirring, especially near the bottom of the pan, until the pudding thickens to your liking. It should coat the back of a spoon. Careful, it splatters!
Cooling and Serving Your *Homemade Tapioca Pudding*
Take the saucepan off the heat. Gently whisk a little of the hot pudding into the lightly beaten egg to temper it – this prevents the egg from scrambling. Then, pour the egg mixture back into the saucepan and stir constantly for about a minute. Finally, stir in the vanilla extract. Pour the pudding into individual serving dishes, or one big bowl. Let it cool completely, then refrigerate for at least two hours (or even overnight) before serving. And that’s it! You’re ready to enjoy your *old fashioned* treat!
Why You’ll Love This *Homemade Tapioca Pudding Recipe*
Honestly? You’re going to fall head over heels for this *comfort sweets* recipe! It’s seriously the best. Here’s why:
- Quick and easy to make – perfect for a weeknight treat!
- Utterly comforting and delicious.
- A classic recipe that never goes out of style.
- Uses simple ingredients you probably already have.
- It’s a crowd-pleaser – everyone will love it!
Tips for Success: Mastering the *Homemade Tapioca Pudding Recipe*
Want to make sure your *Homemade Tapioca Pudding* is absolutely perfect? Here are a few pro tips I’ve learned over the years! First, stirring is your best friend when you’re cooking this *old fashioned dessert*. Don’t walk away from the pot! Keep that spoon moving, especially as it thickens, to prevent any lumps or scorching. Also, be patient! Let it cool and chill in the fridge for at least two hours – the texture will improve so much! And finally, taste as you go! Adjust the sweetness to your liking. Trust me, these tips will help you make a truly amazing pudding!
Serving Suggestions for Your *Homemade Tapioca Pudding*
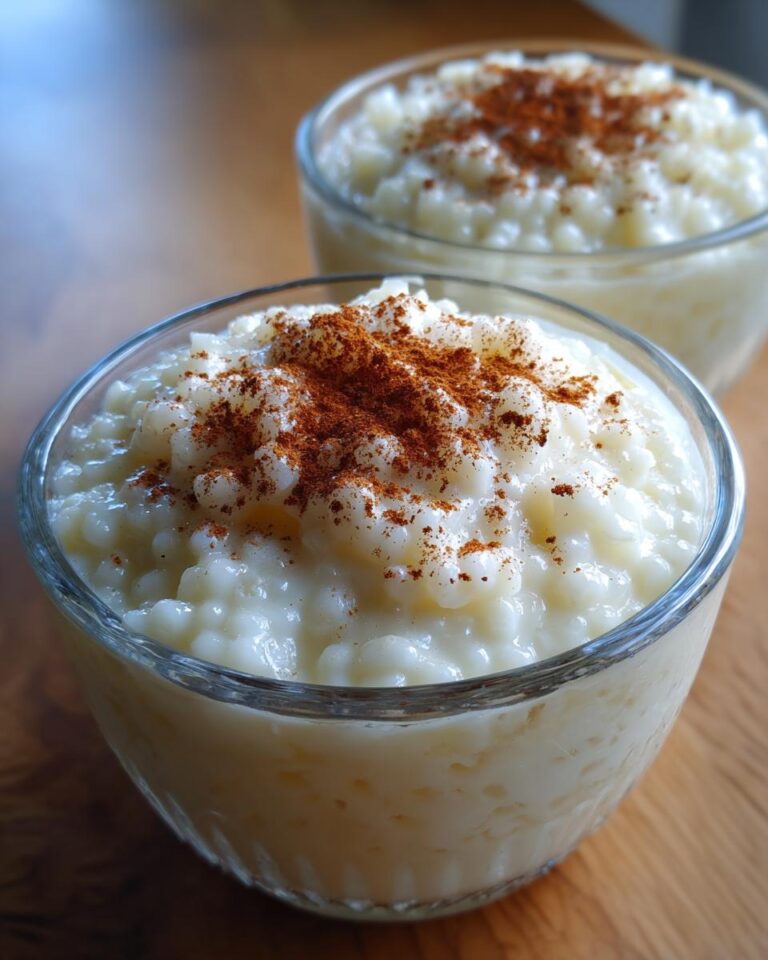
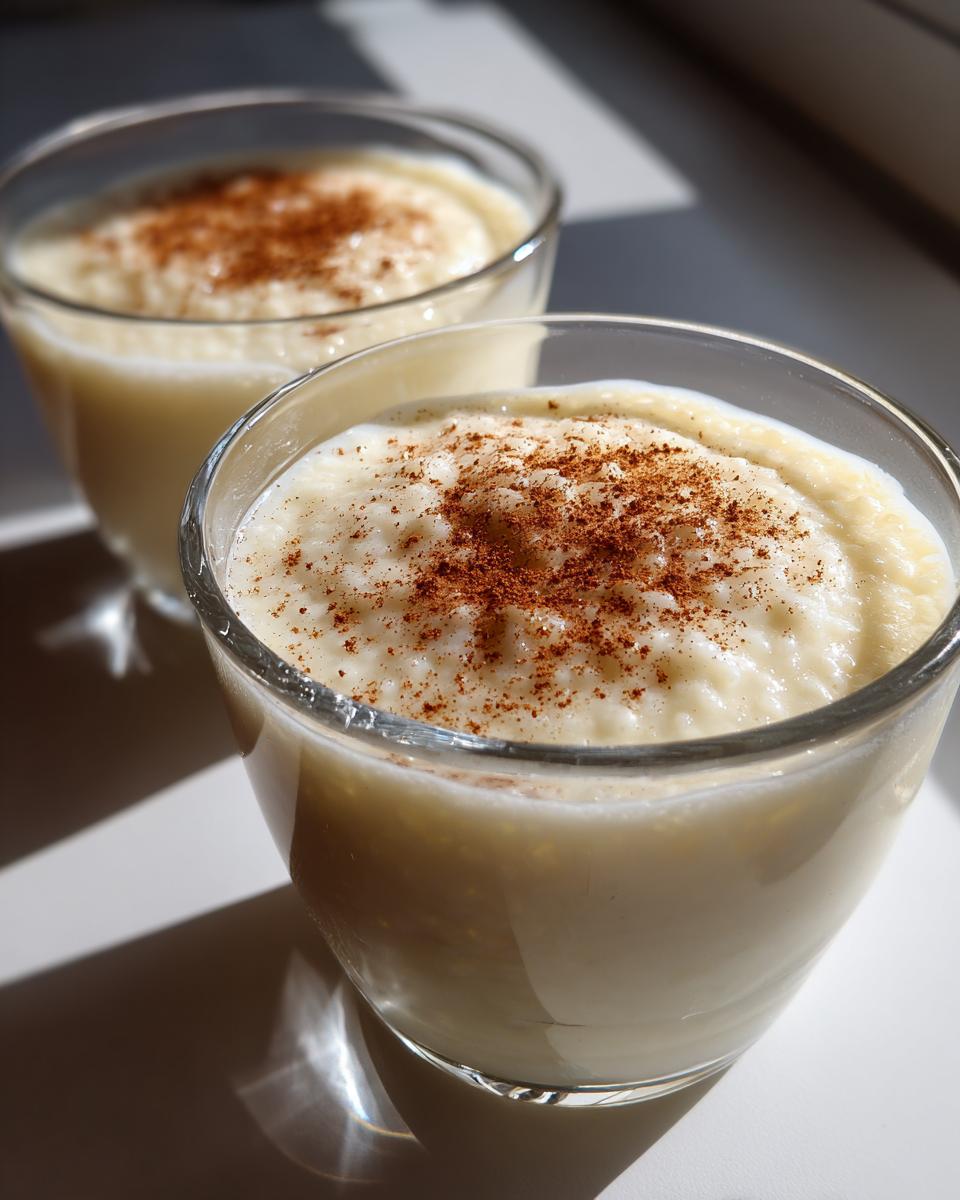
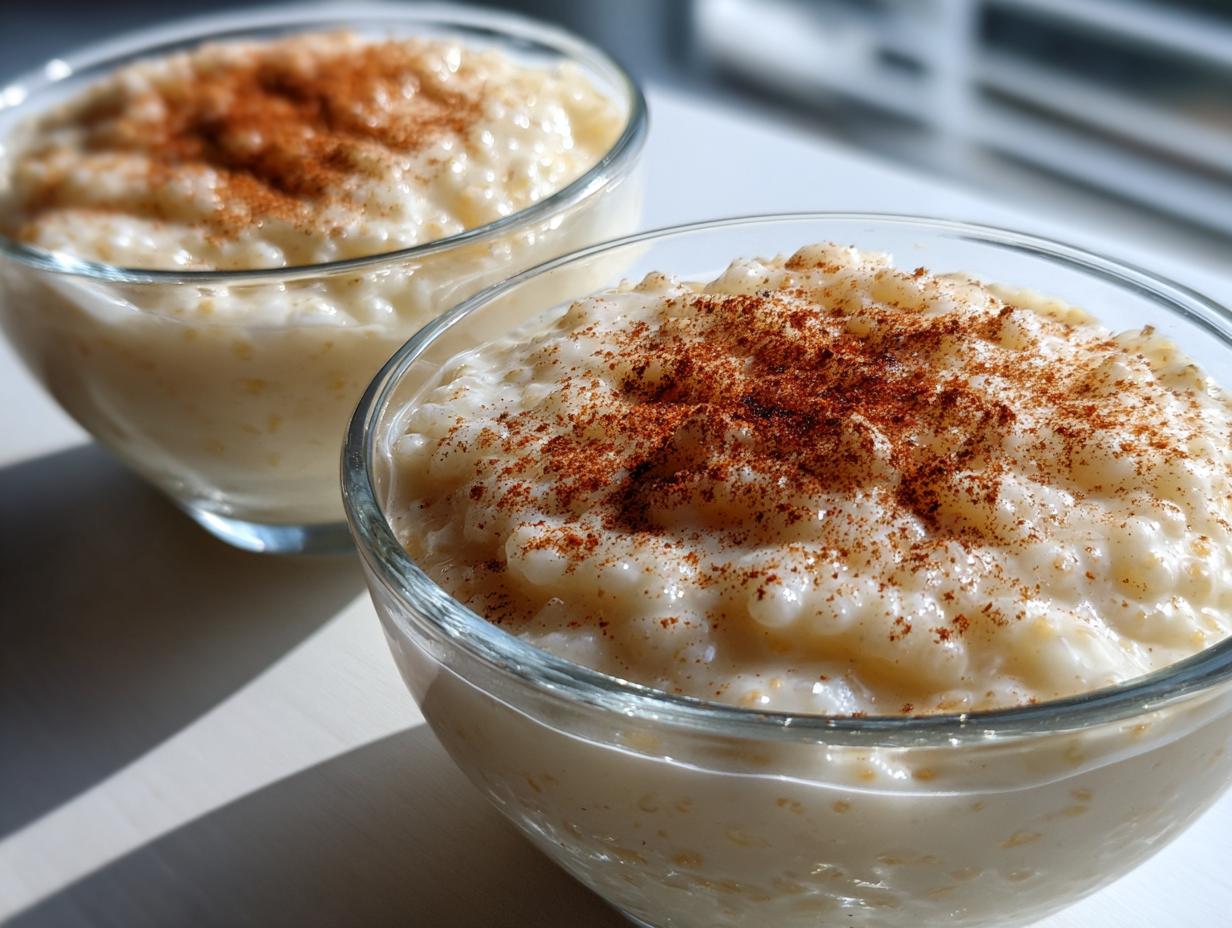
Okay, so you’ve made your *Homemade Tapioca Pudding* – yay! Now for the fun part: serving it! You can totally eat it plain, which is delicious, or jazz it up a bit. My favorite? A sprinkle of cinnamon on top! You could also add fresh berries, a dollop of whipped cream (homemade, of course!), or a drizzle of your favorite jam. Honestly, the possibilities are endless! It’s also great with a cookie on the side, or as a late-night snack.
Frequently Asked Questions About *Homemade Tapioca Pudding*
I know, I know, sometimes you just have questions! So, here are a few of the most common ones I get about my *Homemade Tapioca Pudding Recipe*. Hopefully, these help you out! This *old fashioned dessert* can seem a little tricky at first, but don’t worry, you’ve got this!
Can I use a different type of milk?
Absolutely! You can totally swap out the milk in this recipe. I usually use whole milk for that extra creamy texture, but 2% milk works just fine too. If you’re dairy-free, you can use almond milk, soy milk, or even coconut milk! Just keep in mind that the consistency and flavor might be a *little* different, so you might need to adjust the amount of sugar to your liking. But trust me, it’ll still be delicious!
How can I prevent the tapioca from clumping?
Ah, the dreaded clumps! The key to preventing clumping is constant stirring! Make sure you’re stirring the *Homemade Tapioca Pudding* constantly, especially while it’s heating up and thickening. Also, rinsing the tapioca pearls before you use them helps remove some of the excess starch, which can cause clumping. And finally, don’t rush the process! Patience is key when making this *comfort sweet*!
Can I add other flavors to the pudding?
Oh, yes! Get creative! You can definitely add other flavors to your *Homemade Tapioca Pudding*! Try adding a pinch of cinnamon, nutmeg, or cardamom for a warm, spiced flavor. You can also add a splash of lemon or orange zest for a bright, citrusy twist. And if you’re feeling extra fancy, try adding a few drops of almond extract! The possibilities are endless, so feel free to experiment and find your favorite flavor combinations!
Estimated Nutritional Information for *Homemade Tapioca Pudding*
Okay, so you’re probably wondering about the nitty-gritty, right? I get it! I’m always curious about what’s in my food. Now, I’m not a nutritionist or anything, so this is just an estimate, but it’ll give you a general idea of the nutritional value of a serving of this *Homemade Tapioca Pudding Recipe*. Keep in mind that these numbers can vary depending on the exact ingredients you use, especially the type of milk and the amount of sugar. But here’s a rough guide:
For one serving (about 1 cup), you can expect:
- Calories: Around 180
- Sugar: About 18g (this can change depending on your sugar use!)
- Sodium: Roughly 80mg
- Fat: About 5g
- Saturated Fat: About 3g
- Unsaturated Fat: About 2g
- Trans Fat: 0g
- Carbohydrates: Around 29g
- Fiber: 0g
- Protein: About 5g
- Cholesterol: Around 55mg
See? Not too bad for a *comfort sweet*! And honestly, the joy and comfort this *old fashioned dessert* brings are worth it, in my book! Remember, these numbers are approximate, so enjoy your pudding in moderation and savor every spoonful. It’s a treat, after all!
Storage and Reheating Instructions
So, you’ve made a big batch of *Homemade Tapioca Pudding* – woohoo! Lucky you! To store leftovers, just pop the pudding into an airtight container and stick it in the fridge. It’ll be good for about 3-4 days, if it lasts that long! To reheat, you can either enjoy it cold (my personal fave!) or gently warm it up on the stovetop. Just be careful not to boil it! You could also microwave it, but do it in short bursts, stirring in between, to prevent it from getting too hot. Yum!
A Taste of Nostalgia: The History of Tapioca Pudding and Its Place in *Old Fashioned Desserts*
You know, there’s something so comforting about *old fashioned desserts*, and *Homemade Tapioca Pudding* is right up there at the top! It takes me right back to my childhood. Tapioca pudding actually has a pretty cool history. It came about because tapioca, which is made from cassava root, was a cheap and accessible ingredient. It became a popular dessert during the Great Depression, and it continues to be a favorite in many cultures around the world. It’s a true *comfort sweet*, and I love that it’s stood the test of time!
Conclusion
So there you have it, friends! My *Homemade Tapioca Pudding Recipe*, ready for you to try! I hope you love it as much as I do. Now go on, make some pudding, and let me know what you think in the comments! And please, share this *old fashioned dessert* with your friends!
Print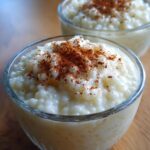
Make This Amazing, Easy Homemade Tapioca Pudding Recipe!
- Total Time: 35 minutes + chilling time
- Yield: 4 servings
- Diet: Vegetarian
Description
This recipe guides you through making classic homemade tapioca pudding. Enjoy a creamy, comforting dessert.
Ingredients
- 1/4 cup small pearl tapioca
- 2 1/2 cups milk
- 1/3 cup granulated sugar
- 1/4 teaspoon salt
- 1 large egg, lightly beaten
- 1 teaspoon vanilla extract
Instructions
- Rinse the tapioca in a fine-mesh sieve.
- Combine tapioca, milk, sugar, and salt in a saucepan.
- Let it sit for 5 minutes.
- Cook over medium heat, stirring constantly, until it boils.
- Reduce heat and simmer for 15-20 minutes, stirring frequently, until thickened.
- Remove from heat.
- Whisk a little of the hot mixture into the beaten egg.
- Pour egg mixture into the saucepan, stirring constantly.
- Cook for 1 minute more. Do not boil.
- Remove from heat and stir in vanilla.
- Pour into individual serving dishes.
- Cool and refrigerate for at least 2 hours before serving.
Notes
- Stir frequently to prevent sticking.
- Adjust sweetness to your liking.
- Serve cold with a sprinkle of cinnamon or fresh fruit.
- Prep Time: 10 minutes
- Cook Time: 25 minutes
- Category: Dessert
- Method: Stovetop
- Cuisine: American
Nutrition
- Serving Size: 1 serving
- Calories: 180
- Sugar: 18g
- Sodium: 80mg
- Fat: 5g
- Saturated Fat: 3g
- Unsaturated Fat: 2g
- Trans Fat: 0g
- Carbohydrates: 29g
- Fiber: 0g
- Protein: 5g
- Cholesterol: 55mg


