
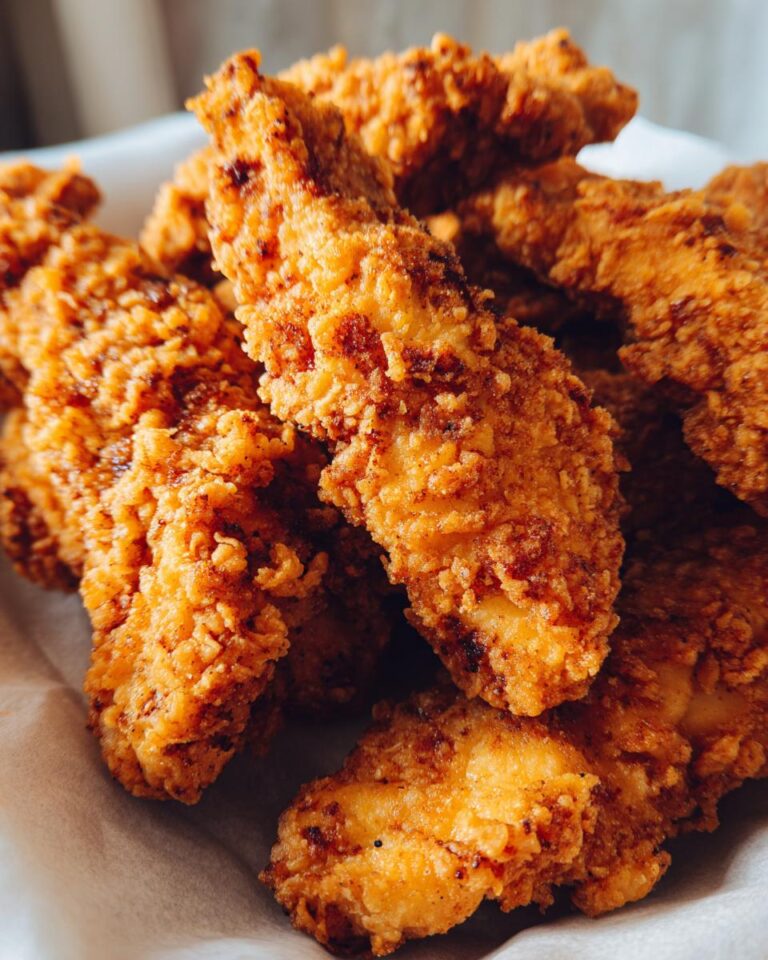
Oh, you guys! If there’s one thing that makes my kids light up like a Christmas tree, it’s a plate of these ridiculously crispy fried chicken tenders. Seriously, the sound of that crunch is just pure magic. They’re not just super tasty, but they are ridiculously quick to whip up, which is a lifesaver on those crazy weeknights when you need a win. I remember making these for the first time, and my youngest, who can be a super picky eater, practically inhaled them! It felt like I’d won the parent lottery. These aren’t just any fried chicken tenders; they’re the kind that come out perfectly golden, tender on the inside, and just… *chef’s kiss*!
Why You’ll Love These Crispy Fried Chicken Tenders
Seriously, these aren’t just any fried chicken tenders. They’re the kind that make everyone happy, from the little ones to the grown-ups. You’ll be making these all the time, trust me!
- Quick Preparation for Busy Evenings: We’re talking minimal fuss here. You can have these on the table in under 30 minutes, making them perfect for those nights when time just flies.
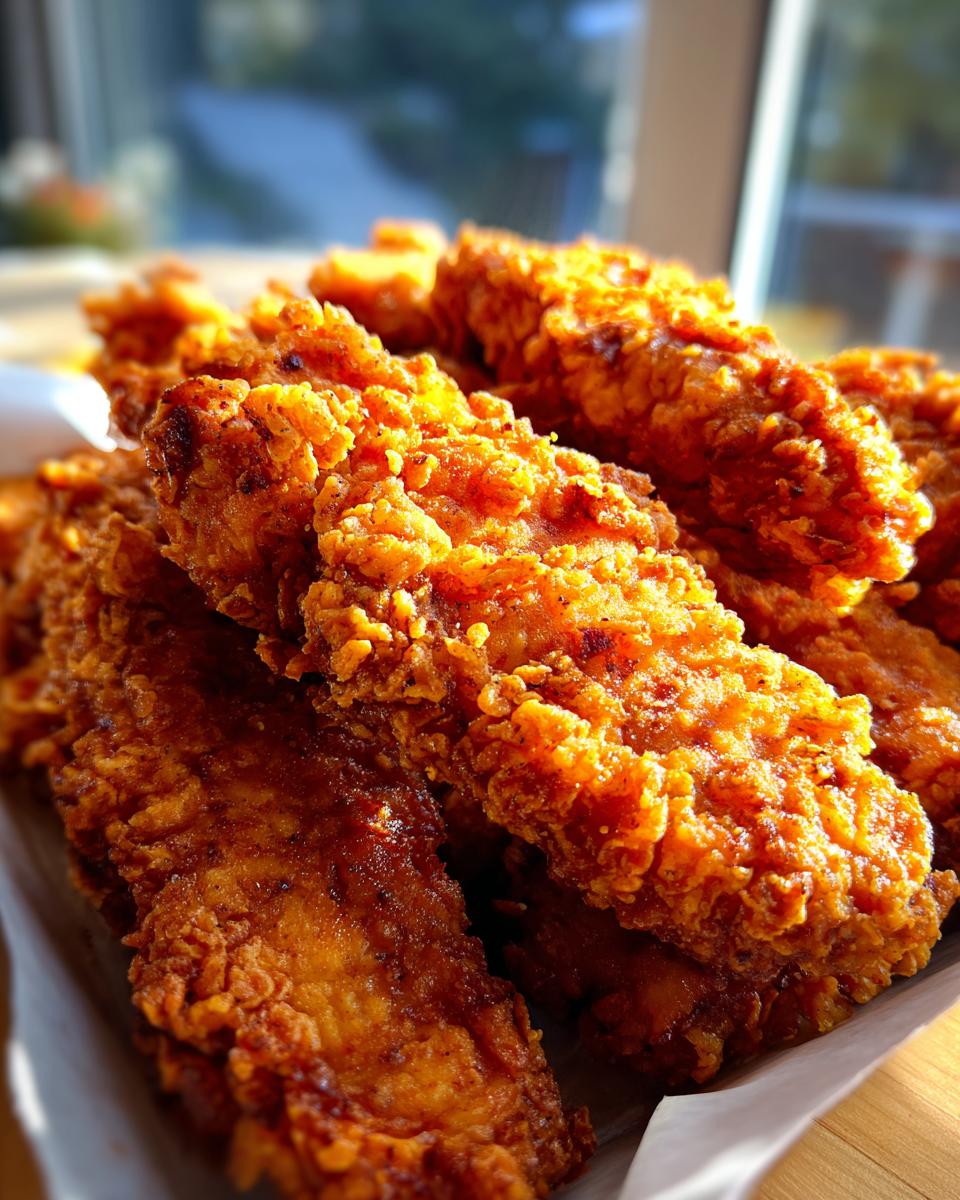
- Irresistibly Crispy Texture: That golden-brown crunch? Oh yeah. Each bite is perfectly crispy on the outside and super tender on the inside. It’s the best kind of fried chicken experience!
- A Hit with the Whole Family: These are the ultimate kid-friendly meals. Even the pickiest eaters will be asking for seconds (and maybe thirds!). They’re just universally loved!
Essential Ingredients for Perfect Crispy Fried Chicken Tenders
Alright, let’s talk about what makes these crispy fried chicken tenders so darn good. It’s really all about the quality of your ingredients and a few simple tricks. Don’t worry, you probably already have most of this stuff lurking in your pantry!
Chicken and Coating Essentials
We need about a pound of chicken tenders – make sure they’re nice and even in size so they cook up uniformly. For that amazing coating, you’ll need 2 cups of all-purpose flour. And for the magic dip? A cup of buttermilk is perfect. It really helps the flour stick and gives the chicken that tender, juicy inside.
Seasonings for Flavor
Now, plain flour is fine, but we can do better! I like to mix about a teaspoon of salt and half a teaspoon of black pepper right into my flour. It’s a simple touch, but it makes a big difference. You could totally jazz this up with a pinch of paprika or garlic powder if you’re feeling adventurous!
Frying Oil
You’ll need enough oil to come about an inch or two up the side of your pan. A neutral oil like vegetable oil, canola oil, or even peanut oil works best. About 3-4 cups should do it for a decent-sized pot.
Ingredient Notes and Substitutions
So, about that buttermilk. If you don’t have any on hand, don’t panic! You can totally make your own super quickly. Just take a cup of regular milk and stir in a tablespoon of white vinegar or lemon juice. Let it sit for about 5 minutes until it looks a little lumpy – voila! It works just as well for getting that crispy coating to stick. For the flour, all-purpose is my go-to, but you could try a mix with a little bit of cornstarch for extra crunch. Just make sure your chicken tenders are nice and dry before you start the dredging process; it helps everything adhere better for those perfect crispy fried chicken tenders.
Step-by-Step Guide to Making Crispy Fried Chicken Tenders
Okay, let’s get down to business and make these amazing crispy fried chicken tenders! It’s a pretty straightforward process, but paying attention to a few little details really makes all the difference. Grab your apron, and let’s do this!
Preparing the Chicken
First things first, you’ll want to make sure your chicken tenders are ready to go. If you bought tenders that are super long, you might want to cut them in half so they’re a more manageable size for frying and eating. Pat them really dry with paper towels. This is important, guys! Moisture is the enemy of crispiness, so get them as dry as you possibly can.
The Dredging and Coating Process
Now for the fun part – the coating! You’ll set up a little dredging station. Get three shallow bowls or plates. In the first one, put your seasoned flour (remember, that’s the 2 cups of flour with salt and pepper mixed in). In the second bowl, pour your buttermilk. And the third bowl can just be empty for now, or you can put a little more seasoned flour in it if you want a double-dip for extra crunch!
Take one dry chicken tender and coat it really well in the flour, pressing gently so it sticks. Then, dip it into the buttermilk, letting any excess drip off for a second. Finally, put it back into the flour, giving it another good coating. Make sure it’s completely covered! Gently press the flour onto the chicken. You can set these coated tenders aside on a plate or wire rack while you coat the rest. Try not to let them sit too long before frying, or the coating can get a little soggy.
Frying to Golden Perfection
This is where the magic happens! Get a heavy-bottomed pot or Dutch oven and pour in your oil. Heat it up over medium-high heat until it reaches about 350°F (175°C). If you don’t have a thermometer, don’t sweat it! You can test it by dropping a tiny pinch of flour into the oil. If it sizzles immediately and floats, you’re good to go. If it just sinks, it’s not hot enough. If it burns instantly, it’s too hot!
Carefully lower a few chicken tenders into the hot oil. Don’t overcrowd the pot – seriously, this is crucial for crispy tenders! Fry them in batches. Let them cook for about 3-5 minutes per side, or until they’re a beautiful golden brown and cooked through. You’ll see them puff up a bit. They should float to the top when they’re almost done.
Draining and Resting
Once they’re perfectly golden and cooked, use tongs or a slotted spoon to carefully lift the tenders out of the oil. Let any excess oil drip back into the pot for a second. Then, transfer them to a wire rack set over a baking sheet or directly onto a plate lined with paper towels. This step is super important for keeping them crispy! Let them drain for a minute or two. You can even sprinkle a tiny bit more salt on them while they’re still hot if you like!
Tips for Achieving the Ultimate Crispy Fried Chicken Tenders
Okay, so you’ve got the recipe, but let’s talk about those little secrets that take your crispy fried chicken tenders from good to absolutely legendary. These are the things I always do to make sure they turn out perfect, every single time. They’re simple, but they make a world of difference for these kid-friendly meals!
Oil Temperature is Key
Seriously, this is HUGE. Too cool, and your tenders get greasy and sad. Too hot, and the outside burns before the inside is cooked. Aim for that sweet spot around 350°F (175°C). If you don’t have a thermometer, the flour-drop test is your best friend. A consistent temperature means beautifully even cooking and that perfect crunch we’re all after.
Don’t Overcrowd the Pan
I know it’s tempting to get them all in there at once, but trust me on this one. Frying in batches is non-negotiable for achieving truly crispy results. When you overload the pan, the oil temperature plummets, and your beautiful chicken tenders end up steaming instead of frying. Plus, it makes them harder to flip and get that even golden color. Patience, my friends!
Seasoning the Flour Well
Don’t be shy with the salt and pepper in your flour! Taste a tiny bit of the seasoned flour before you start dredging. Does it need more kick? Maybe a pinch of garlic powder or paprika? Getting the flour seasoned well means the flavor is infused right into that crispy coating. It’s a simple step that really elevates these fried chicken tenders from basic to brilliant.
Serving Suggestions for Your Crispy Fried Chicken Tenders
These crispy fried chicken tenders are so versatile! They’re fantastic on their own, of course, but they also make a complete meal when paired with some yummy sides. My kids love them with some sweet potato fries or a big bowl of creamy mashed potatoes. A simple side salad or some steamed broccoli also works wonders. They’re just perfect for any kid-friendly meal, or even a casual get-together with friends!
Storing and Reheating Leftover Crispy Fried Chicken Tenders
Got leftovers? Lucky you! Once your amazing crispy fried chicken tenders have cooled completely, store them in an airtight container in the fridge. They’re usually best within 2-3 days. To reheat and get that crunch back, pop them in a single layer on a baking sheet in a preheated oven at around 375°F (190°C) for about 5-10 minutes. Avoid the microwave if you want to keep them crispy – it just makes them soggy!
Frequently Asked Questions About Crispy Fried Chicken Tenders
Got questions about making the best crispy fried chicken tenders? I’ve got you covered! Here are some things people often ask me:
Can I bake these crispy fried chicken tenders instead of frying?
You totally can bake them if you want a lighter option! Just arrange your coated tenders on a baking sheet lined with parchment paper (maybe give them a little spray of cooking oil). Bake at 400°F (200°C) for about 15-20 minutes, flipping halfway through, until golden and cooked. They won’t be *quite* as crispy as fried, but they’re still delicious and a great choice for kid-friendly meals!
What kind of oil is best for frying chicken tenders?
For that perfect golden-brown, crispy fried chicken tender, you want a neutral oil with a high smoke point. Vegetable oil, canola oil, or peanut oil are all fantastic choices. They get nice and hot without burning, which is exactly what we need for that satisfying crunch!
How can I make these even crispier?
Want next-level crispiness? Try a double-dip! After you dip the floured tender in the buttermilk, dip it back into the flour and coat it *again* before frying. This builds up an extra-thick crust that gets super crunchy when fried. You can also try adding a tablespoon or two of cornstarch to your flour mixture for an extra crispy boost!
Estimated Nutritional Information
Just a heads-up, these numbers are approximate for these delicious crispy fried chicken tenders, and they can vary a bit depending on the exact ingredients and brands you use. But for a serving of about 4 oz, you’re looking at roughly 350 calories, 18g of fat (4g saturated), 25g carbohydrates, and a solid 20g of protein. It’s a tasty meal that’s great for a family dinner!
Print
Amazing Crispy Fried Chicken Tenders in 30 Min
- Total Time: 25 minutes
- Yield: 4 servings
- Diet: Vegetarian
Description
Deliciously crispy fried chicken tenders, perfect for a quick meal.
Ingredients
- 1 lb chicken tenders
- 2 cups flour
- 1 cup buttermilk
Instructions
- Dredge chicken tenders in flour.
- Dip floured tenders in buttermilk.
- Coat again in flour.
- Fry until golden brown and cooked through.
Notes
- Ensure oil is at the correct temperature for best results.
- Drain on paper towels before serving.
- Prep Time: 10 minutes
- Cook Time: 15 minutes
- Category: Main Course
- Method: Frying
- Cuisine: American
Nutrition
- Serving Size: 4 oz
- Calories: 350
- Sugar: 2g
- Sodium: 400mg
- Fat: 18g
- Saturated Fat: 4g
- Unsaturated Fat: 14g
- Trans Fat: 0g
- Carbohydrates: 25g
- Fiber: 1g
- Protein: 20g
- Cholesterol: 80mg


