
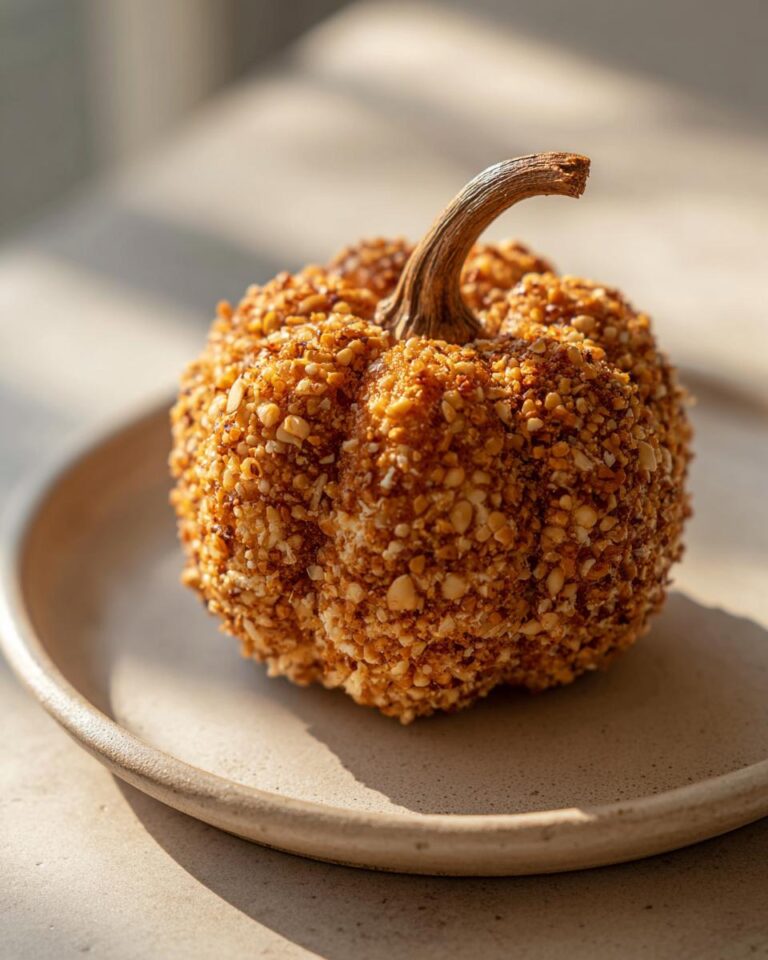
Oh my goodness, you guys, get ready for the cutest and most delicious thing to hit your fall party table! I’m talking about the ultimate Pumpkin Shaped Cheese Ball. Seriously, it’s like a little edible masterpiece that screams autumn and holiday cheer. I’ve been making variations of cheese balls for years for Thanksgiving and all my fall get-togethers, and this one? It’s a showstopper every single time. People always ooh and aah over it, and then they devour it in minutes! It’s just so darn festive, and honestly, it makes my Thanksgiving cheese platter look extra special without even trying.
Why You’ll Love This Pumpkin Shaped Cheese Ball
This little pumpkin is a total win-win for so many reasons:
- It’s ridiculously festive and fun for all your fall parties!
- It’s a super easy, no-bake appetizer that comes together in a flash.
- The flavor combo is just *chef’s kiss* – totally crowd-pleasing!
- It’s absolutely perfect for your Thanksgiving cheese platter.
- And let’s be real, it’s one of the most visually appealing pumpkin themed food ideas you’ll find!
Essential Ingredients for Your Pumpkin Shaped Cheese Ball
Okay, so making this adorable pumpkin cheese ball is easier than you might think! It all starts with a few simple ingredients that come together to make something truly magical. You’ll want to have everything prepped and ready to go so you can just mix and shape.
Cream Cheese Base
The foundation of our pumpkin is, of course, cream cheese! Make sure it’s nice and softened – this is key for getting a smooth, lump-free mixture. You’ll need a full 8 ounces of it. This is what brings everything together and makes it spreadable and delicious.
Flavorful Additions
Next up, we’re adding the flavor! I like to use a combo of shredded cheddar and Monterey Jack cheese – about 4 ounces of each. They melt together beautifully and give it that classic cheesy goodness. Then, for a little texture and nutty depth, we’ll toss in about 1/4 cup of finely chopped pecans or walnuts. Fresh parsley, about 1/4 cup finely chopped, adds a lovely bit of freshness and color. Don’t forget the Worcestershire sauce (just a tablespoon!), garlic powder, and onion powder for that savory punch. A little salt and pepper to taste, and you’re golden!
For the Pumpkin Stem
To really make it look like a pumpkin, you need a stem! I usually grab a pretzel stick because it’s sturdy and looks right. A small piece of celery works great too, or even a tiny sprig of rosemary if you have it on hand. It’s the little details that make this pumpkin party appetizer so fun!
How to Prepare Your Pumpkin Shaped Cheese Ball
Alright, let’s get this pumpkin party started! Making this festive cheese ball is honestly a breeze, and the steps are super straightforward. You’ll be impressing everyone with your Pumpkin Shaped Cheese Ball creation in no time. Just follow along and you’ll see how easy it is!
Mixing the Cheese Ball Base
First things first, grab a good-sized bowl. Toss in your softened cream cheese, then add in both the shredded cheddar and Monterey Jack cheeses. Now, add in those finely chopped pecans or walnuts, the fresh parsley, that little splash of Worcestershire sauce, garlic powder, and onion powder. Give it all a good pinch of salt and pepper – taste it as you go if you like, but remember it’ll get even better once it chills! Now, take a sturdy spoon or spatula and mix everything together until it’s really well combined. You want it all to be one happy, cheesy family.
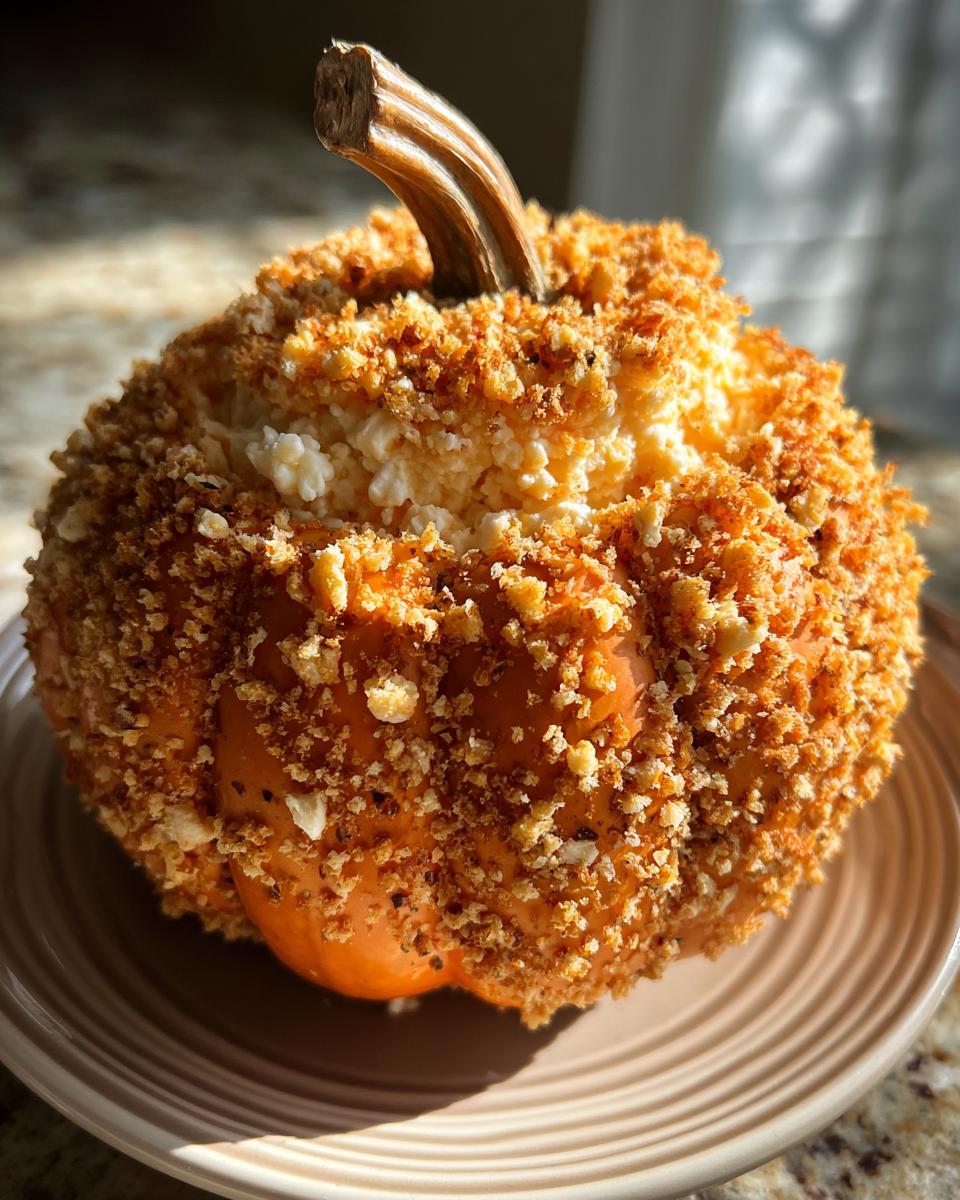
Shaping and Chilling Your Pumpkin
Once everything is mixed up beautifully, it’s time to shape our pumpkin! Lay out a piece of plastic wrap on your counter. Scoop the cheese mixture onto the plastic wrap. Now, gently start shaping it into a round ball, then kind of mold it into a pumpkin shape. Don’t stress about making it *perfectly* round; pumpkins have a bit of character! Once it looks vaguely pumpkin-like, wrap it up tightly in the plastic wrap. Pop this little guy into the fridge for at least an hour. This chilling part is super important – it helps the cheese ball firm up so it holds its shape and is easier to handle. Honestly, I sometimes let mine chill for a couple of hours if I have the time, just to be safe!
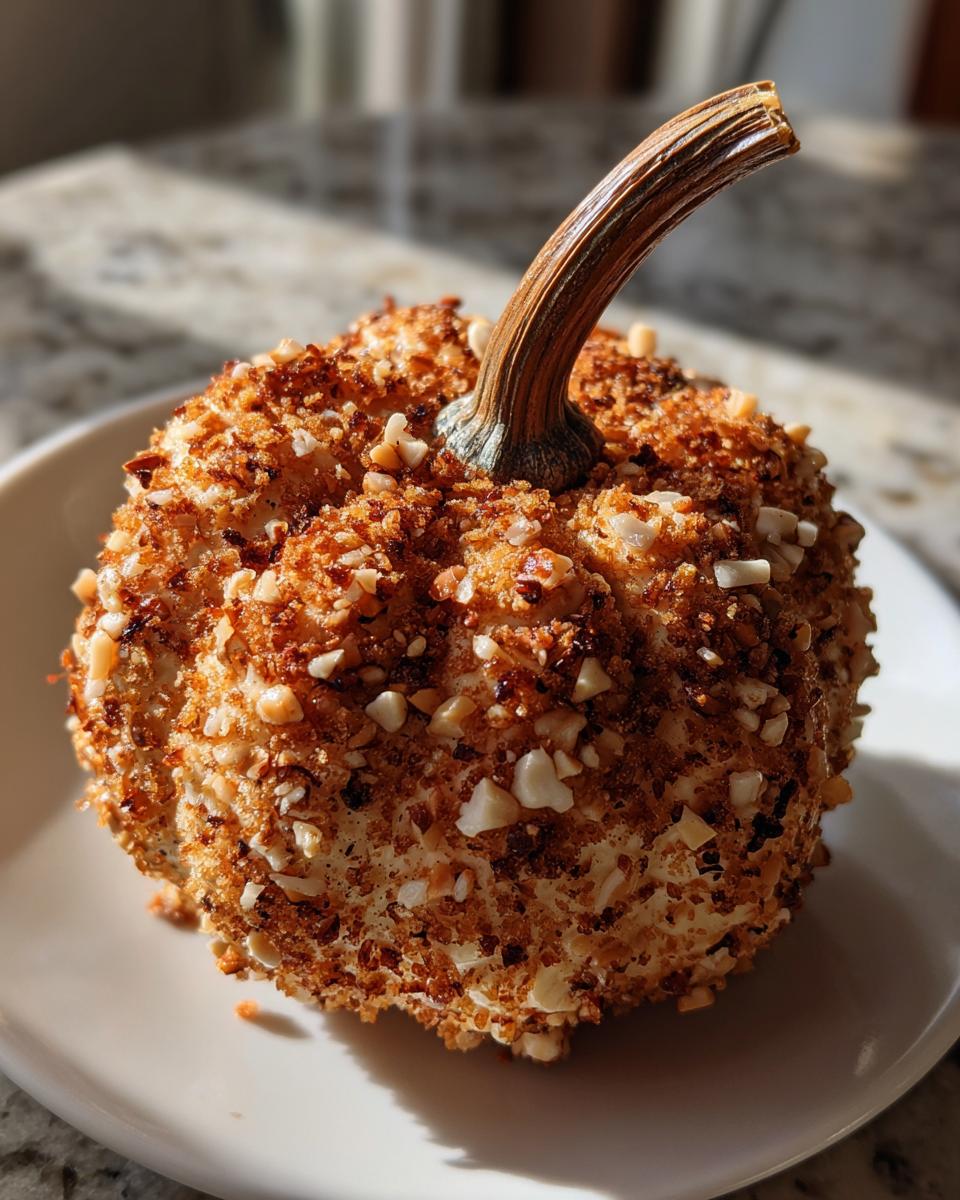
Adding the Finishing Touches
After your cheese ball has chilled and firmed up, unwrap it carefully. Now for the fun part that really makes it a pumpkin! Gently insert your pretzel stick, celery piece, or rosemary sprig right into the top center to make a realistic-looking stem. If you want that classic pumpkin color, you can lightly dust the outside with a little paprika. Just a gentle dusting with your fingers or a small sieve does the trick. It gives it a nice, subtle glow. And voilà! Your adorable Pumpkin Shaped Cheese Ball is ready to be the star of your Thanksgiving cheese platter or any fall party!
Tips for the Best Pumpkin Shaped Cheese Ball
Okay, so I’ve made this Pumpkin Shaped Cheese Ball enough times to know a few little tricks that make it even better. You want that perfect texture and flavor, right? And it helps to know you can totally make it ahead of time!
Perfecting the Texture
If you’re like me and love a super smooth, creamy cheese ball, here’s a secret weapon: a food processor! Seriously, just toss all your cream cheese, shredded cheeses, nuts, and seasonings into the processor and give it a whirl until it’s beautifully combined and smooth. It’s a little shortcut that makes a big difference in the final texture. If you don’t have one, don’t worry, mixing by hand works great too, just make sure that cream cheese is *really* soft!
Creative Ingredient Substitutions
Don’t be afraid to play around with this recipe! While parsley is lovely, I’ve also used finely chopped chives or even a little fresh dill, and they’re delicious. You can also totally mix up the cheeses. Maybe try some sharp white cheddar instead of yellow, or even a bit of pepper jack if you like a tiny kick. It’s your Fall Cheeseball Recipe, make it your own!
Making Ahead and Storage
This is a lifesaver for party hosts! You can absolutely mix up the cheese ball mixture and shape it the day before you need it. Just wrap it up super tight in plastic wrap and keep it chilled in the fridge. It’ll actually firm up even more, making it easier to handle when it’s time to add the stem. If you happen to have any leftovers (which is rare in my house!), just wrap them up tightly and they’ll keep in the fridge for a few days.
Frequently Asked Questions About Pumpkin Shaped Cheese Balls
Got questions about making this adorable Pumpkin Shaped Cheese Ball? I’ve got answers! This recipe is pretty straightforward, but a few tips can make it even better.
Making Your Pumpkin Cheeseball Recipe Ahead of Time
Oh, absolutely! This is one of my favorite Fall Cheeseball Recipes to prep ahead. You can totally mix up the cheese mixture and even shape it into your pumpkin form the day before your party. Just wrap it up really well in plastic wrap and keep it chilled in the fridge. It actually helps it firm up even more, making it super easy to add the stem and any other decorations right before serving. Leftovers? Just wrap ’em tight and they’ll be good in the fridge for a few days!
Serving Suggestions for Fall Cheeseball Recipes
This cheese ball is practically begging for some yummy dippers! For that perfect Thanksgiving Cheese Platter vibe, I love serving it with a mix of things. Definitely grab some sturdy crackers – like water crackers or even some cute little leaf-shaped ones if you can find them. Pretzel sticks are a must, both for dipping and for the stem! Veggie sticks like carrots, celery, and bell peppers are great too. If you’re going all out with Pumpkin Charcuterie Board Ideas, you could even add some grapes, apple slices, and maybe a few dried cranberries around it.
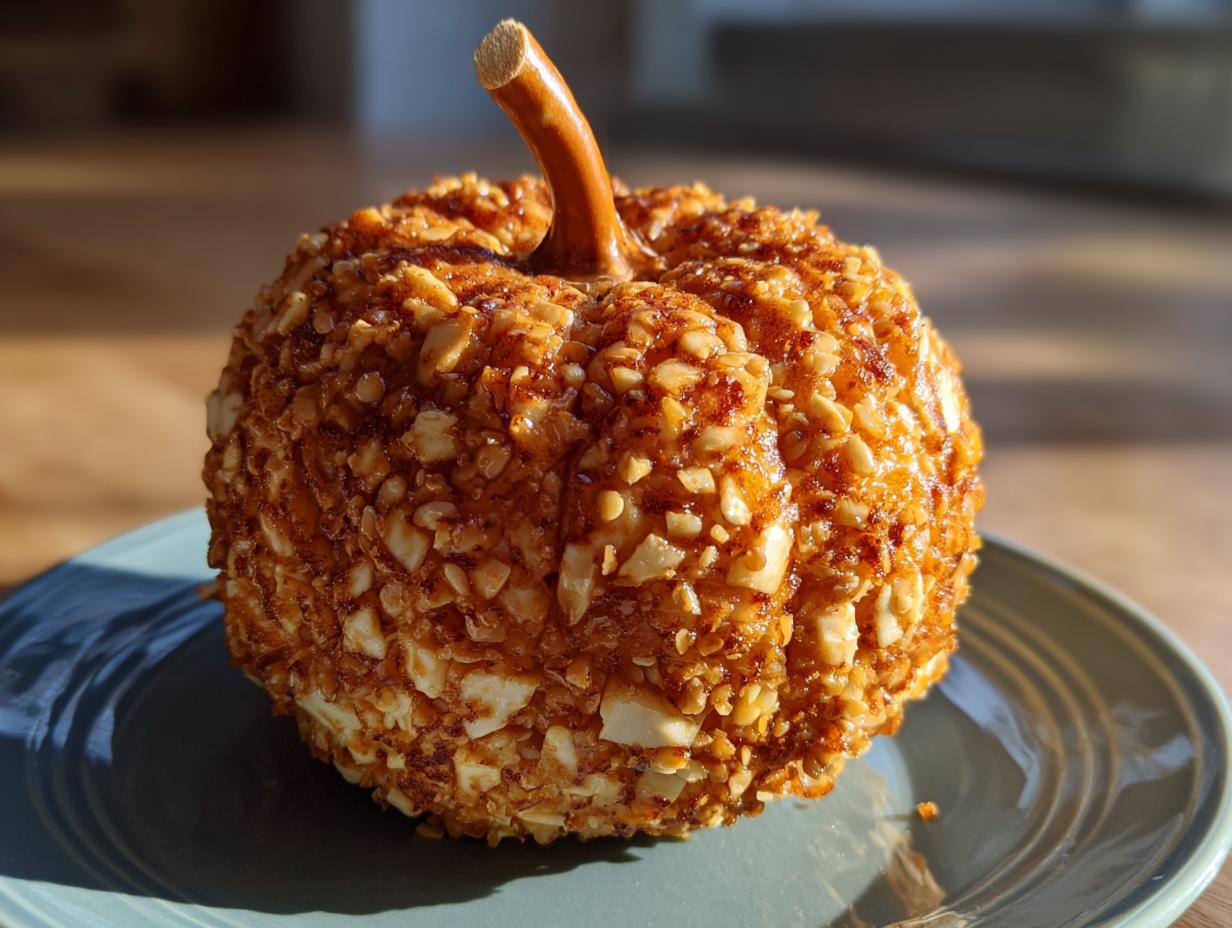
Achieving a Realistic Pumpkin Look
Getting that pumpkin look is part of the fun! When you’re shaping it, don’t aim for a perfect sphere; real pumpkins have a bit of natural unevenness. Gently pressing lines into the side with the back of a spoon can give it those classic pumpkin ridges. And for the stem, a pretzel stick is my go-to, but a small piece of celery works great too. If you want that extra pop of color, a very light dusting of paprika (like I mentioned in the recipe) really makes it look more vibrant and, well, pumpkin-y! You could even use a dab of cream cheese mixed with a tiny bit of orange food coloring if you’re feeling extra creative.
Nutritional Information for Your Pumpkin Shaped Cheese Ball
Just a little heads-up, the nutrition info for this Pumpkin Shaped Cheese Ball is an estimate. It can totally change depending on the brands of cheese and nuts you use, and, of course, how big your servings are! This is just a general idea to give you a ballpark figure. For more information on general nutritional guidelines, you can check out resources like the National Nutrition Portal.
I just *love* hearing from you all! Have you made this adorable Pumpkin Shaped Cheese Ball? I’d be thrilled if you shared your experience or even a rating below! Did you try any fun substitutions or have a favorite way to serve it? Your feedback helps other cooks make this Pumpkin Party Appetizer the best it can be!
Amazing Pumpkin Shaped Cheese Ball Masterpiece
- Total Time: 1 hour 15 minutes
- Yield: 1 cheese ball
- Diet: Vegetarian
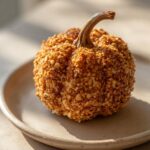
Description
A festive and delicious cheese ball shaped like a pumpkin, perfect for fall gatherings and holiday parties.
Ingredients
- 8 ounces cream cheese, softened
- 4 ounces cheddar cheese, shredded
- 4 ounces Monterey Jack cheese, shredded
- 1/4 cup finely chopped pecans or walnuts
- 1/4 cup finely chopped fresh parsley
- 1 tablespoon Worcestershire sauce
- 1/2 teaspoon garlic powder
- 1/4 teaspoon onion powder
- Salt and pepper to taste
- Pretzel sticks or a small piece of celery for the stem
- Paprika for dusting (optional)
Instructions
- In a medium bowl, combine the softened cream cheese, shredded cheddar cheese, and shredded Monterey Jack cheese.
- Add the chopped pecans or walnuts, chopped parsley, Worcestershire sauce, garlic powder, and onion powder.
- Season with salt and pepper to your liking.
- Mix all ingredients thoroughly until well combined.
- Shape the cheese mixture into a pumpkin shape on a piece of plastic wrap.
- Wrap the cheese ball tightly in plastic wrap and refrigerate for at least 1 hour to firm up.
- Before serving, unwrap the cheese ball.
- Insert a pretzel stick or a piece of celery at the top to resemble a pumpkin stem.
- For extra color, lightly dust the outside with paprika (optional).
- Serve with crackers, pretzels, or vegetable sticks.
Notes
- For a smoother texture, you can use a food processor to combine the ingredients.
- You can substitute other herbs like chives or dill for the parsley.
- Experiment with different cheese combinations to find your favorite flavor.
- Chill the cheese ball for at least 2 hours for easier shaping and serving.
- If you don’t have pretzel sticks or celery, a small sprig of rosemary can also work as a stem.
- Prep Time: 15 minutes
- Cook Time: 0 minutes
- Category: Appetizer
- Method: No-bake
- Cuisine: American
Nutrition
- Serving Size: 2 tablespoons
- Calories: 100
- Sugar: 1g
- Sodium: 150mg
- Fat: 9g
- Saturated Fat: 5g
- Unsaturated Fat: 4g
- Trans Fat: 0g
- Carbohydrates: 2g
- Fiber: 0g
- Protein: 4g
- Cholesterol: 25mg


