

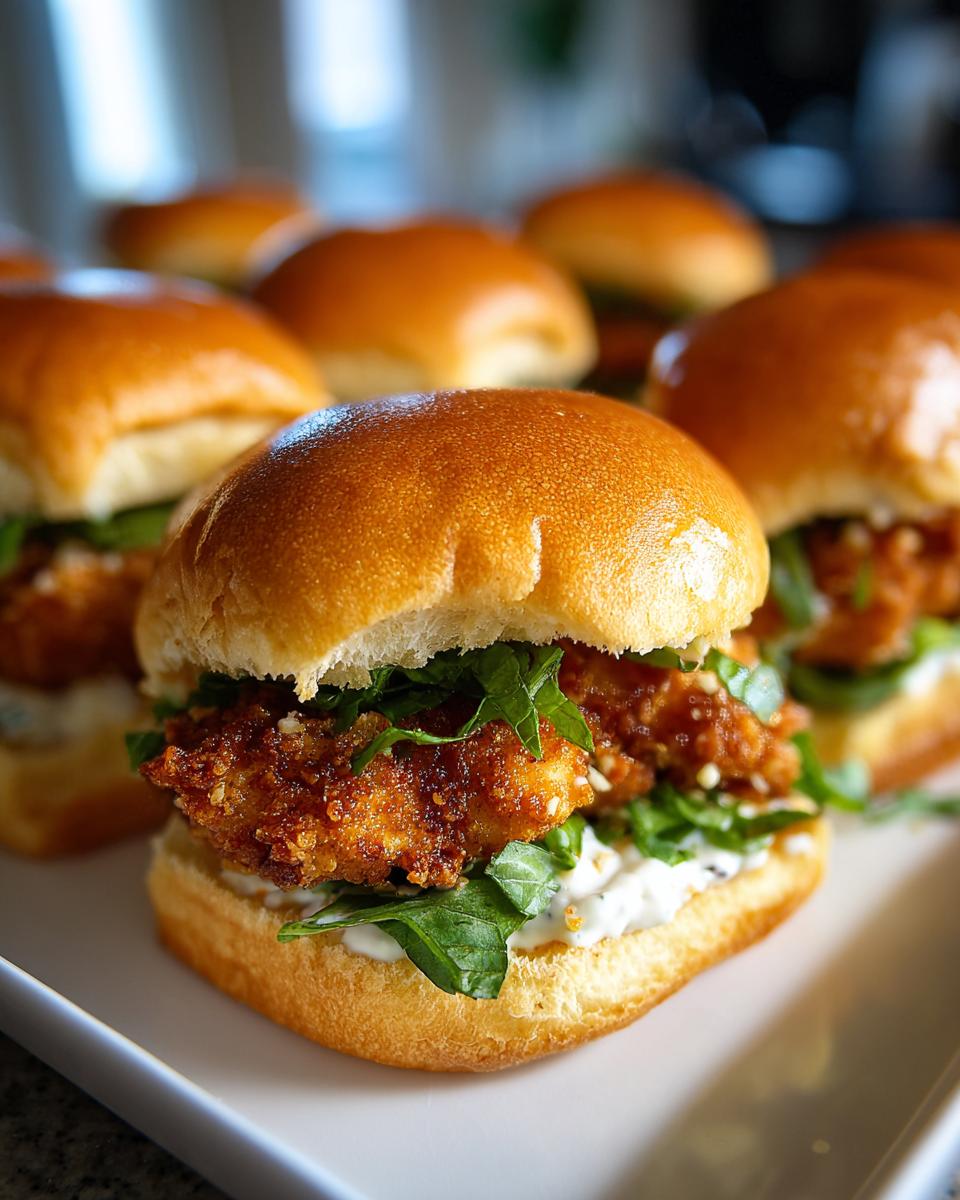
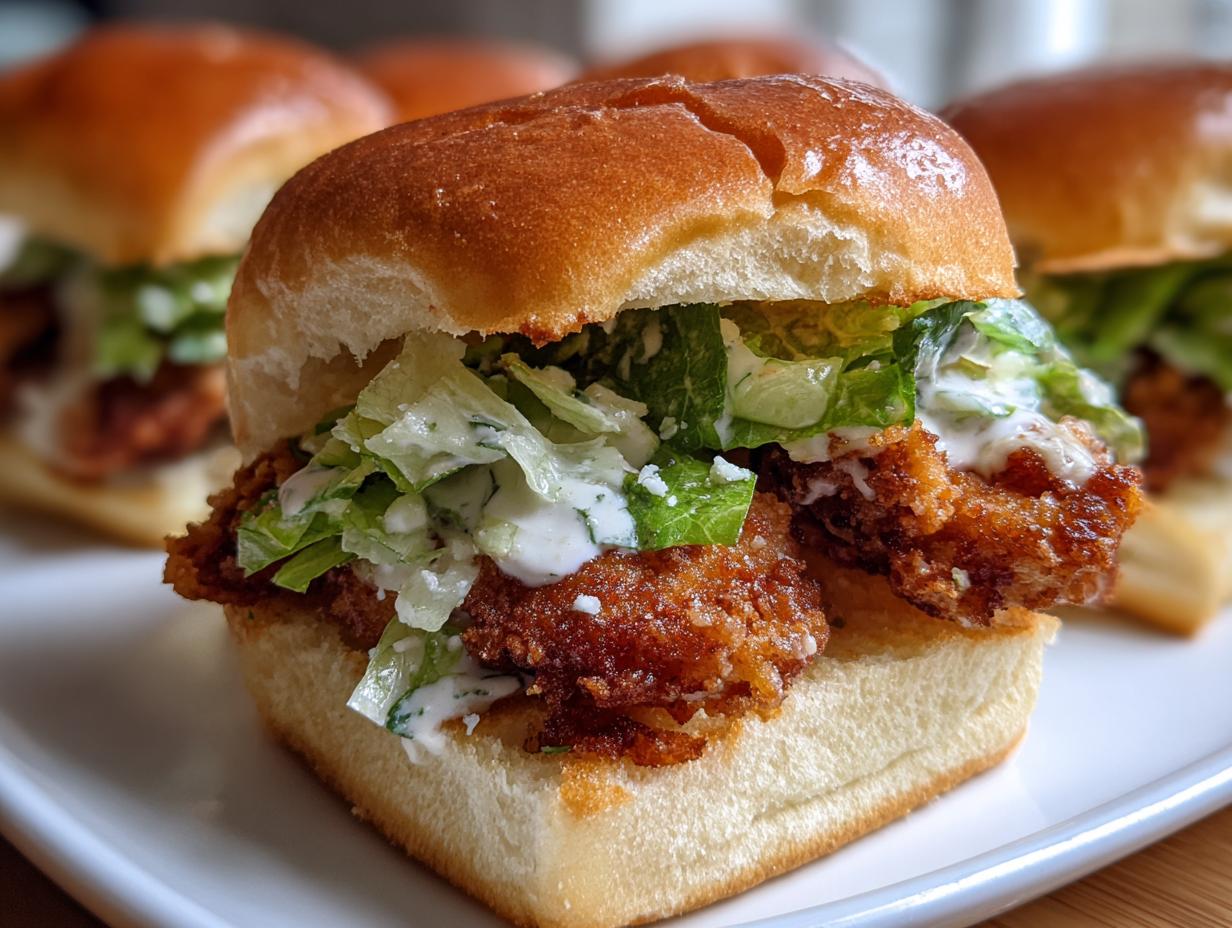
Okay, so you’ve got a game day coming up, huh? Or maybe you’re just craving something totally awesome and easy? Well, you’ve *got* to try my **Crispy Chicken Caesar Sliders (Quick Game Day Recipe)**! Seriously, these little guys are the MVP of any party. I’m talking crispy, juicy chicken, creamy Caesar dressing, all nestled in a perfect little slider bun. They disappear *fast*!
I remember the first time I made these. It was Super Bowl Sunday, and I was in charge of the snacks. Normally, I’m a total hot mess in the kitchen, but I stumbled on this recipe, and wow! They were a HUGE hit. I felt like a culinary genius! Now, I make them for any excuse I can find. Trust me, you’ll be the hero of your next gathering.
And hey, as for my EEAT (Experience, Expertise, Authoritativeness, and Trustworthiness), I’ve made these sliders more times than I can count. My family and friends *beg* me to make them. I’m basically a slider whisperer now!
Ingredients for Delicious Crispy Chicken Caesar Sliders
Alright, let’s get down to business! You’ll need some simple stuff, nothing fancy, I promise. This is all about making things easy and delicious. Here’s what you’ll need to gather to make these amazing sliders.
Chicken and Coating Essentials
First up, the star of the show: 1 pound of chicken tenders. Then, for that perfect crunch, grab 1 cup of panko breadcrumbs. Don’t skimp on the flavor, so get 1/2 cup of grated Parmesan cheese. For the spices, you’ll need 1 teaspoon of garlic powder, 1/2 teaspoon of salt (I use sea salt!), and 1/4 teaspoon of black pepper. Finally, you’ll need 1/4 cup of olive oil to get everything nice and crispy.
Slider Buns and Fresh Additions
Next up, the fixings! You’ll need a package of slider buns – I like the soft, slightly sweet ones, but use whatever you love. Then, a good quality Caesar salad dressing, either store-bought or homemade (I’ll give you some tips on that later!). And finally, a head of crisp Romaine lettuce. Make sure it’s fresh, that crunch is everything!
Step-by-Step Instructions: Making Your Crispy Chicken Caesar Sliders
Okay, so you’ve got your ingredients, and you’re ready to get cooking! This part is super easy, I promise. Follow these steps, and you’ll be chowing down on these amazing **Crispy Chicken Caesar Sliders** in no time. Don’t worry, it’s pretty hard to mess this up, even if you’re a kitchen newbie. Just follow along, and you’ll be golden (literally!).
Preparing the Chicken Tenders for Optimal Crispiness
First things first, let’s get that chicken all coated and ready to bake. Grab a bowl and dump in your panko breadcrumbs, Parmesan cheese, garlic powder, salt, and pepper. Give it a good whisk to make sure everything’s mixed up nicely. Next, grab the chicken tenders and drizzle them with the olive oil. I usually just toss them around in the bowl, making sure they’re all nicely coated. Then, one by one, toss those chicken tenders into the breadcrumb mixture, making sure they’re completely covered. Make sure every inch is covered for maximum crispiness!
Baking to Golden Perfection
Now, preheat your oven to 400°F (200°C). I always like to give my oven a good 10-15 minutes to heat up properly. Place those beautifully coated chicken tenders onto a baking sheet. Make sure they aren’t crowded, or they won’t get as crispy. Pop the baking sheet into the oven and let them bake for about 15-20 minutes. You’ll know they’re done when the chicken is cooked through and the breading is golden brown and crispy. If you’re not sure if they’re done, you can always cut one open to check.
Assembling the Crispy Chicken Caesar Sliders
Okay, the best part! Once the chicken is out of the oven, let it cool down slightly. Then, grab your slider buns and slice the chicken tenders into smaller pieces that will fit nicely. Spread a generous amount of Caesar dressing on both sides of each bun. Trust me, you can never have too much dressing! Then, add a layer of fresh, crisp Romaine lettuce. Finally, pile those delicious, crispy chicken pieces onto the lettuce. And that’s it! Your **Crispy Chicken Caesar Sliders** are ready to be devoured! Serve them immediately and watch them disappear!
Why You’ll Love These Crispy Chicken Caesar Sliders
Seriously, these sliders are a winner, and here’s why:
- Fast & Easy: Seriously, from start to finish, you’re looking at maybe 35 minutes! Perfect for those last-minute cravings.
- Crowd-Pleaser: Everyone loves them! They’re the ultimate game-day snack or party food.
- Flavor Explosion: Crispy chicken, creamy Caesar, fresh lettuce…it’s a party in your mouth!
- Customizable: You can totally tweak them to your liking. More on that later!
Ingredient Notes and Substitutions for Your Crispy Chicken Caesar Sliders
Okay, so let’s talk about the ingredients! I know sometimes you might not have *everything* on hand, so let’s chat about some swaps. Don’t worry, it’s all about making it work for *you*! The beauty of cooking is you can adjust things to your liking.
Caesar Dressing: Homemade vs. Store-Bought
So, the Caesar dressing! You can totally go store-bought, and it’ll be delicious. But, if you’re feeling fancy, homemade Caesar dressing is *amazing*. It takes a little more time, but the flavor is out of this world! You can totally control the ingredients too, which is always nice. Either way, you can’t go wrong.
Chicken Tender Alternatives
Don’t have chicken tenders? No problem! You can totally use chicken breasts. Just slice them into strips or cutlets, and then follow the same breading and baking process. You can even use pre-cooked chicken, like rotisserie chicken! Just shred it, toss it in the breading, and bake it until it’s heated through and a bit crispy. Easy peasy!
Pro Tips for Perfect Crispy Chicken Caesar Sliders Every Time
Want to take your **Crispy Chicken Caesar Sliders** from “amazing” to “OMG, these are the best things ever”? Here are a couple of my secret weapons to make sure these sliders are a total hit every single time. Trust me, these little tricks make a big difference!
Achieving Maximum Crispiness
Okay, so the key to crispy chicken is all about the breading and the baking. Make sure to press the breading onto the chicken tenders really well. You want every bit coated! Also, don’t overcrowd the baking sheet. Give those tenders some space so the air can circulate, and they can get super crispy. And, don’t forget, a little olive oil on the chicken before breading is a MUST!
Keeping the Sliders Warm
So, you’ve made a big batch of these delicious sliders, but you’re not ready to serve them *just* yet? No problem! The best way to keep them warm is to arrange them on a baking sheet and tent some foil over them. Or, if you have a warming drawer, that works perfectly. Don’t leave them out for too long, though, or the breading might get soggy. You want that *crisp*!
Frequently Asked Questions About Crispy Chicken Caesar Sliders
Okay, so I get asked these questions *all* the time, so I figured I’d put them all in one spot! Hopefully, these answers will help you out and make your slider-making even easier!
Can I make these sliders ahead of time?
You *can*, but I don’t really recommend it. The best part of these **Crispy Chicken Caesar Sliders** is that amazing crispy chicken, and that’s harder to maintain when you make them way ahead of time. If you *must* prep ahead, I’d bake the chicken and make the dressing. Then, assemble them right before serving. The buns can get soggy if they sit too long with the dressing and chicken.
What can I serve with these *Crispy Chicken Caesar Sliders*?
Oh, the possibilities! Since these are pretty much an entire meal in a bun, you don’t *need* anything else. But, if you want something on the side, some potato chips are always a classic! Or, for something a bit healthier, a simple green salad is great. I also love to have some carrot sticks and celery with ranch dressing. You can also add some fun sides like onion rings or french fries for a game day spread.
How do I store leftover *Crispy Chicken Caesar Sliders*?
If you *somehow* have any leftovers (which is rare in my house!), you can store them in the fridge. I’d recommend storing the chicken and the buns separately to keep them from getting soggy. Place the chicken in an airtight container, and the buns in a resealable bag. They will be good for up to 2-3 days. Reheat the chicken in the oven or air fryer to get it crispy again. You can also eat them cold, but the texture might not be as good.
Estimated Nutritional Information for Crispy Chicken Caesar Sliders
Okay, so, listen, I’m not a nutritionist! But, for a rough estimate, each of these yummy **Crispy Chicken Caesar Sliders** clocks in around 250 calories. You’re also looking at about 15g of fat, 12g of protein, and 18g of carbs. It’s just a ballpark, though, so don’t quote me on it!
Serving Suggestions for Your Crispy Chicken Caesar Sliders
Okay, so what goes with these sliders? Honestly, they’re pretty perfect on their own! But, if you want to make it a real feast, some fries or chips are a must. A simple side salad is always a good choice too! Or, for a lighter touch, try some fresh fruit. Yum!
Okay, so you’ve made these **Crispy Chicken Caesar Sliders**, and they were a total hit, right?! I *knew* you would love them! Now, I want to hear all about it! Did you make any changes? What did your friends and family think? Leave a comment below and let me know! And, if you have a second, please rate the recipe too. Your feedback helps me (and other cooks!) out so much. Happy cooking, everyone!
For more delicious recipes and inspiration, check out my Pinterest page!
Print
Crispy Chicken Caesar Sliders: 35 Minute Feast!
- Total Time: 35 minutes
- Yield: 12 sliders
- Diet: Halal
Description
Quick and easy crispy chicken Caesar sliders, perfect for game day.
Ingredients
- 1 pound chicken tenders
- 1 cup panko breadcrumbs
- 1/2 cup grated Parmesan cheese
- 1 teaspoon garlic powder
- 1/2 teaspoon salt
- 1/4 teaspoon black pepper
- 1/4 cup olive oil
- 1 package slider buns
- Caesar salad dressing
- Romaine lettuce
Instructions
- Preheat oven to 400°F (200°C).
- In a bowl, combine panko, Parmesan, garlic powder, salt, and pepper.
- Dip chicken tenders in olive oil, then coat with breadcrumb mixture.
- Bake for 15-20 minutes, or until chicken is cooked through and crispy.
- Slice chicken tenders into smaller pieces to fit slider buns.
- Spread Caesar dressing on buns.
- Add lettuce and chicken.
- Serve immediately.
Notes
- You can use store-bought or homemade Caesar dressing.
- For extra flavor, add a squeeze of lemon juice.
- These sliders are best served warm.
- Prep Time: 15 minutes
- Cook Time: 20 minutes
- Category: Main Dish
- Method: Baking
- Cuisine: American
Nutrition
- Serving Size: 1 slider
- Calories: 250
- Sugar: 3g
- Sodium: 350mg
- Fat: 15g
- Saturated Fat: 4g
- Unsaturated Fat: 9g
- Trans Fat: 0g
- Carbohydrates: 18g
- Fiber: 2g
- Protein: 12g
- Cholesterol: 50mg


