

Oh, there’s just something magical about a homemade pie, isn’t there? The smell wafting from the oven, the anticipation… but let’s be honest, the crust is where the real heart of a pie lives. And that’s where my dear friend Manuela comes in! She’s taught me so much over the years, and today, I’m so excited to share her secrets with you. We’re talking about Cooking with Manuela: How to Make the Perfectly Flaky and Buttery Homemade Pie Crust. Forget those sad, store-bought excuses for pastry! Manuela’s method is surprisingly simple, but trust me, it delivers a crust that’s unbelievably flaky and has this gorgeous, rich buttery flavor that just sings. She always says baking should feel joyful, not fussy, and this recipe is proof of that!
Why You’ll Love This Homemade Pie Crust
Seriously, this recipe is a game-changer for your baking! You’ll adore it because:
- It’s unbelievably flaky – think layers upon layers of buttery goodness.
- The rich, buttery flavor is simply unmatched by anything from a box.
- It’s super versatile, perfect for sweet apple pies, savory pot pies, or even a fun “cake pie” experiment!
- And the best part? It’s surprisingly simple to make, even if you’re new to baking.
The Best Homemade Pie Crust: Essential Ingredients
Alright, so to get that amazing flaky and buttery crust, you really only need a few simple things. Manuela insists on quality here, so let’s make sure we have them ready! You’ll need:
- 2 1/2 cups all-purpose flour: This is your base, the foundation of everything.
- 1 teaspoon salt: Just a little bit to bring out all those lovely flavors.
- 1 cup (that’s two sticks!) of cold unsalted butter, cut into about 1/2-inch cubes: This is SO important, trust me. The colder the butter, the flakier your crust will be. Make sure it’s unsalted so you can control the saltiness yourself.
- 1/2 cup ice water: Yep, ice water! Again, we want everything super chilled to get those beautiful layers.
Having all these ready to go before you start mixing makes the whole process so much smoother!
Ingredient Notes and Substitutions for Your Pie Dough for Pies
Okay, let’s talk about why these ingredients, especially the cold ones, are non-negotiable for a truly flaky pie crust. When those cold cubes of butter hit the hot oven, they create steam, and that steam is what lifts the dough into those glorious flaky layers we love. So, keep that butter and water *cold*!
While Manuela swears by all-purpose flour for its good balance, you *could* experiment with a tiny bit of whole wheat flour mixed in, maybe a quarter cup, if you want a slightly nuttier flavor and denser texture. As for the butter, you *could* use a mix of butter and shortening – some people find it makes the dough a bit easier to handle and super tender. But honestly, for that rich, buttery taste? Butter is king!
How to Prepare The Perfectly Flaky and Buttery Homemade Pie Crust
Alright, let’s get our hands in the dough! Making a great pie crust isn’t complicated, it just needs a little love and attention. Follow these steps, and you’ll have a beautiful, flaky base ready for your favorite filling in no time. Remember, we want everything to stay nice and cold!
Step 1: Combining Dry Ingredients for Your Pie Crust Recipe
First things first, grab a big bowl. We’re going to whisk together the flour and salt. Just a quick mix to make sure they’re evenly distributed. This might seem simple, but it’s the start of something wonderful!
Step 2: Cutting in the Butter for a Flaky Texture
Now for the magic! Add those cold, cubed butter pieces right into the flour mixture. You can use a pastry blender, which works like a charm, or just your fingertips. The goal here is to get the mixture to look like coarse crumbs, with some little pea-sized bits of butter still visible. Don’t overdo it; those butter pieces are what create all those lovely flaky layers when they melt in the oven!
Step 3: Adding Water to Form the Dough for Pies
This is where we bring it all together. Start adding the ice water, just a tablespoon at a time. Mix gently with a fork or your hands as you go. You want the dough to *just* start coming together – like it’s barely holding hands. Stop adding water as soon as it forms a shaggy dough. Overmixing here is the enemy of flakiness, so be gentle!
Step 4: Chilling the Dough for Optimal Results
Now, we need to let our dough chill out. Divide it into two equal halves. Gently flatten each half into a disk. This makes it easier to roll later. Wrap each disk up snugly in plastic wrap. Pop them into the fridge for at least 30 minutes. This chilling time is super important; it lets the gluten relax and the butter firm up again, which is key for that buttery, flaky texture we’re after.
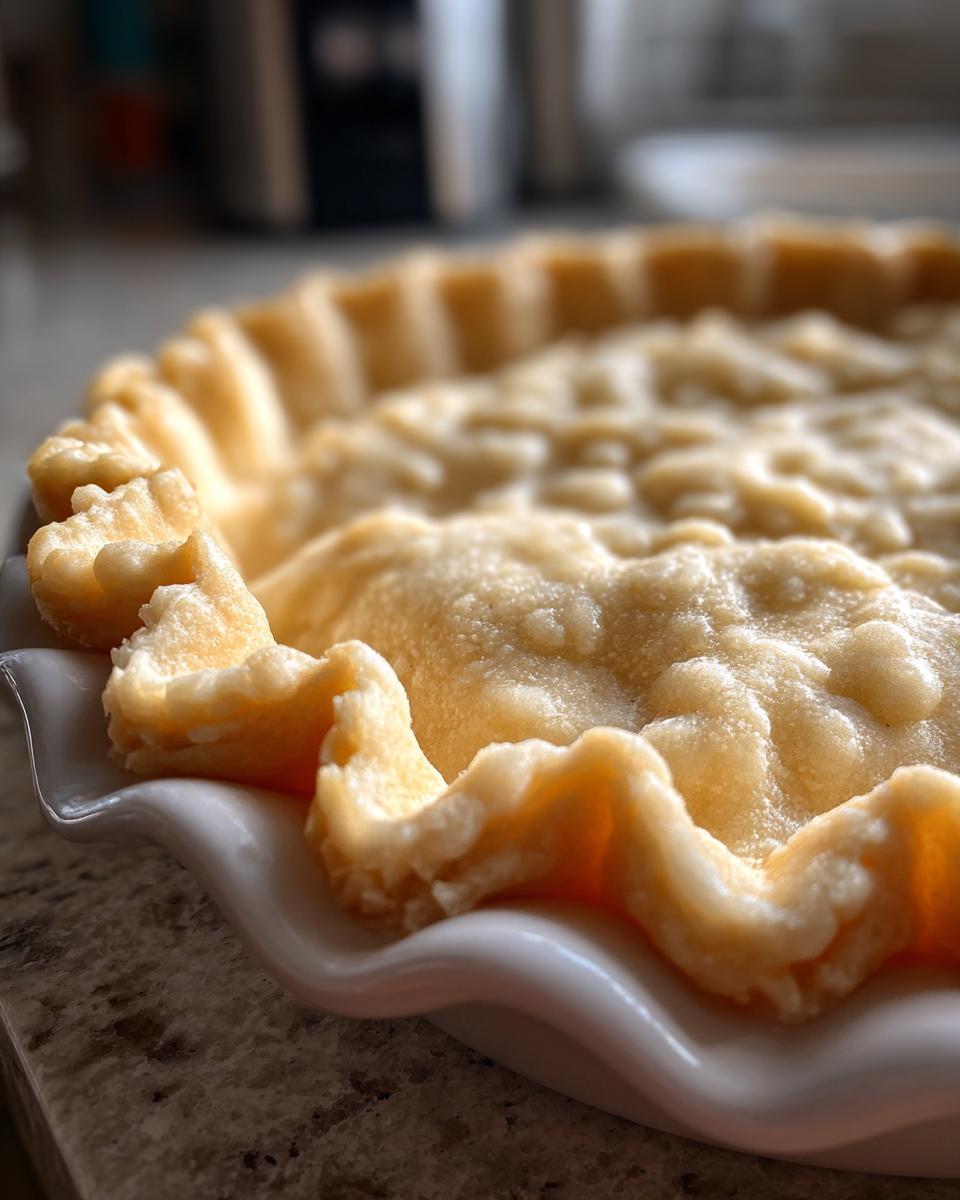
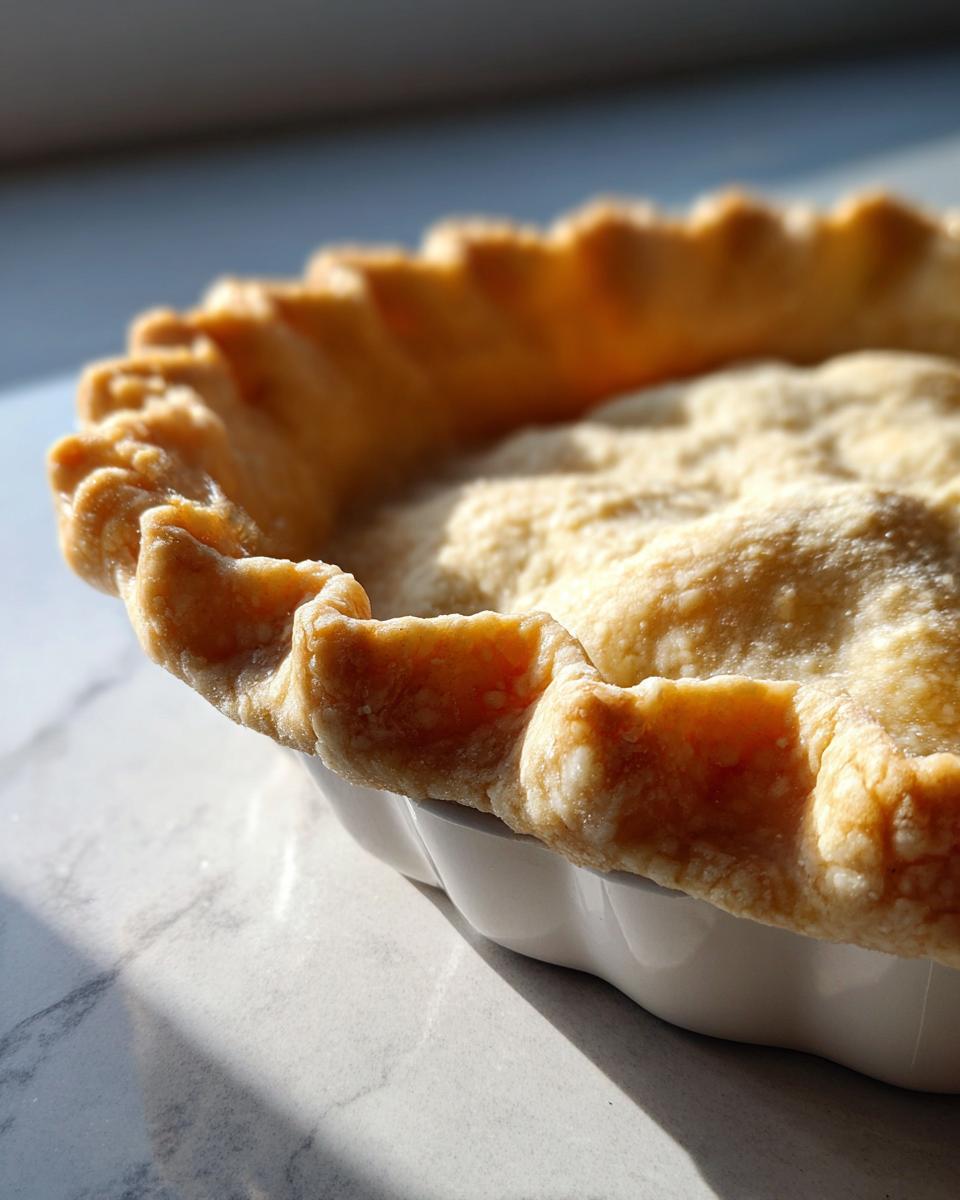
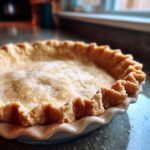
Step 5: Rolling and Shaping Your Homemade Pie Crust
Once your dough has had its nice, cold rest, it’s time for the fun part! Lightly flour your work surface and your rolling pin. Take one disk of dough and gently roll it out into a circle that’s big enough to fit your pie plate. Work from the center outwards, rotating the dough occasionally to keep it from sticking. Once it’s in your pie plate, you can trim any excess dough and crimp the edges however you like. If you’re making a savory dish, this is where you’d start thinking about your DIY pot pie crust!
Tips for Success with Your Easy Pie Crust Recipes
Making a fantastic pie crust is all about a few key tricks, and Manuela is a master at them! These little tips make all the difference between a good crust and a truly spectacular, flaky, and buttery one. Trust me, paying attention to these details really pays off!
- Keep. Everything. COLD: I can’t say this enough! Cold butter, cold water, even a cold bowl if you can manage it. This is the secret sauce for flakiness.
- Don’t Overwork the Dough: Once you add the water, mix *just* until it comes together. Overmixing develops the gluten too much, leading to a tough crust instead of a tender, flaky one.
- Watch the Temperature: If your kitchen is warm or the dough starts to feel soft and sticky while you’re working with it, pop it back in the fridge for 10-15 minutes. It’s better to chill it longer than to end up with a greasy dough.
- Prevent Shrinkage: A common frustration! Make sure your dough is well-chilled before rolling, and once it’s in the pie plate, don’t stretch it when you’re pressing it into the pan. Let gravity do the work!
Keeping Your Dough Cold: A Crucial Step
Seriously, this is the golden rule for that incredible flaky texture. Those little pieces of cold butter in the dough melt in the oven, creating steam pockets. Those pockets lift the dough, forming those delicate, airy layers we all love in a perfect pie crust. If your butter is even slightly soft when you cut it in, or your water is lukewarm, you won’t get that dramatic lift. So, pull that butter straight from the fridge, cut it into cubes, and use water that’s practically icy. It’s the foundation of a truly buttery and flaky pie crust!
Troubleshooting Common Pie Crust Issues
Don’t you worry if your first try isn’t absolutely perfect! Every baker has had a wonky crust now and then. If your dough is too tough, you likely overmixed it after adding the water. Next time, be more gentle and stop mixing as soon as it comes together. If your dough is crumbly and won’t hold together, you might need a tiny bit more ice water – add it a teaspoon at a time until it just binds. And if it shrinks like crazy? Make sure it was chilled thoroughly before rolling and that you didn’t stretch it when fitting it into the pan!
Storage and Reheating Instructions for Dough for Pies
Got leftover dough? No worries, this pie dough is super forgiving and stores like a dream! You can keep your wrapped disks in the refrigerator for up to 2 days. It’s perfect for whipping up a quick tart or another pie later in the week. If you want to keep it even longer, just pop those disks into a freezer-safe bag and freeze them for up to a month. To thaw, just move it from the freezer to the fridge overnight. And if you’re thinking about an unbaked pie crust, this dough works beautifully – just remember to blind bake it if your recipe calls for it!
Frequently Asked Questions about Cooking with Manuela: How to Make the Perfectly Flaky and Buttery Homemade Pie Crust
Got questions about making Manuela’s amazing pie crust? I’ve got you covered!
Can I make this pie crust dough ahead of time?
Absolutely! This is actually one of the best homemade pie crust recipes for making ahead. Just wrap your dough disks tightly in plastic wrap and keep them in the fridge for up to 2 days. If you need to store them longer, they freeze beautifully for up to a month. Just thaw them in the fridge overnight before you’re ready to roll!
What is the best way to roll out pie dough for an even crust?
For an even crust that bakes up perfectly flaky, start with chilled dough! Lightly flour your surface and your rolling pin. Roll from the center outwards, giving the dough a quarter turn every few rolls. This helps prevent sticking and keeps it from stretching unevenly. Don’t press too hard; let the rolling pin do the work. You want a nice, even thickness all around!
How do I prevent my pie crust from shrinking when baking?
This is a common frustration, but it’s usually down to a couple of things. First, make sure your dough is really well-chilled before you even start rolling. Second, when you fit the dough into your pie plate, don’t stretch it. Gently press it into the corners and let gravity help it settle. If you’re blind baking, using pie weights or dried beans also helps support the crust. A good chill and gentle handling are your best friends here!
What are some common fillings for this pie crust recipe?
Oh, the possibilities are endless! This pie crust recipe is fantastic for a classic apple pie – it’s truly the best homemade pie crust for it. But it’s also wonderful for berry pies, pecan pies, or even a savory dish like a chicken pot pie. If you’re feeling adventurous, it would even work for a fun cake pie recipe! Just make sure to follow your chosen filling’s baking instructions.
Estimated Nutritional Information
Just a little heads-up, the nutritional info for this pie crust is an estimate, as things can vary a bit depending on the exact brands of flour and butter you use, and even how much water you end up needing. The numbers provided are a general guideline to give you an idea, but the real magic is in the taste and texture!
I just love seeing what you all create in your kitchens! If you give Manuela’s flaky, buttery pie crust a try, I’d be absolutely thrilled if you’d leave a comment below telling me how it turned out. Did you bake an apple pie? A savory pot pie? Don’t be shy about rating the recipe or even sharing a photo on social media – seeing your baking triumphs makes my day!

Cooking with Manuela: 1 Flaky Pie Crust Secret
- Total Time: 50 minutes (including chilling time)
- Yield: 2 crusts (for a 9-inch pie)
- Diet: Vegetarian
Description
Learn to make a perfectly flaky and buttery homemade pie crust with Manuela. This recipe is simple and yields delicious results for any pie.
Ingredients
- 2 1/2 cups all-purpose flour
- 1 teaspoon salt
- 1 cup (2 sticks) cold unsalted butter, cut into cubes
- 1/2 cup ice water
Instructions
- In a large bowl, whisk together flour and salt.
- Cut in the cold butter using a pastry blender or your fingertips until the mixture resembles coarse crumbs with some pea-sized pieces of butter.
- Gradually add ice water, 1 tablespoon at a time, mixing until the dough just comes together. Do not overmix.
- Divide the dough in half, flatten each half into a disk, wrap in plastic wrap, and refrigerate for at least 30 minutes.
- On a lightly floured surface, roll out one disk of dough to fit your pie plate.
- Trim and crimp the edges as desired.
- Fill with your favorite pie filling and bake according to your pie recipe instructions.
Notes
- Keep all ingredients, especially the butter and water, very cold for the flakiest crust.
- If the dough becomes too warm while working with it, return it to the refrigerator for a few minutes.
- This dough can be made ahead and stored in the refrigerator for up to 2 days or frozen for up to 1 month.
- Prep Time: 20 minutes
- Cook Time: 0 minutes (for the crust)
- Category: Baking
- Method: No-bake crust preparation
- Cuisine: American
Nutrition
- Serving Size: 1/8th of a crust
- Calories: Approximately 200-250 kcal (varies based on ingredients)
- Sugar: Less than 1g
- Sodium: Approximately 150mg
- Fat: Approximately 14-16g
- Saturated Fat: Approximately 9-10g
- Unsaturated Fat: Approximately 5-6g
- Trans Fat: 0g
- Carbohydrates: Approximately 18-20g
- Fiber: Approximately 1g
- Protein: Approximately 3g
- Cholesterol: Approximately 30-40mg


